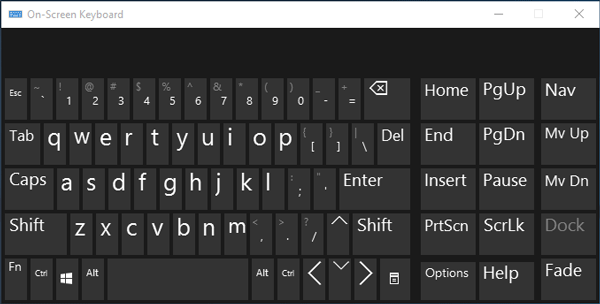
The On-Screen Keyboard is a built-in system app in Windows 10, which can be used in place of the physical keyboard when necessary. If you wonder how to open the On-Screen Keyboard in Windows 10, here are six ways provided for you.
6 ways to open On-Screen Keyboard in Windows 10
Way 1: through the Search bar
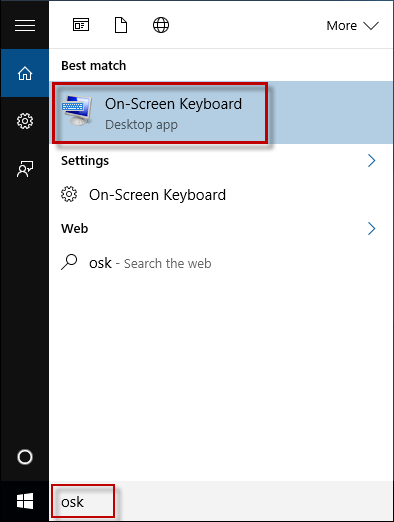
Start typing osk in the Search the web and Windows field on the left side of the Windows 10 taskbar. After the On-Screen Keyboard (Desktop app) is displayed in the search results, click on it to open it.
Way 2: via Run dialog
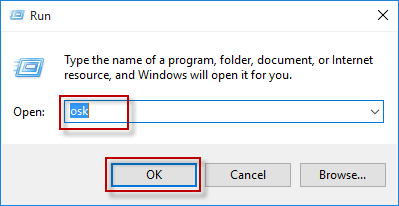
Step 1: Bring up the Run dialog by pressing Win + R keys on your physical keyboard.
Step 2: Type osk in the Open field, and click OK. Then the On-Screen keyboard will open.
Way 3: from Start menu
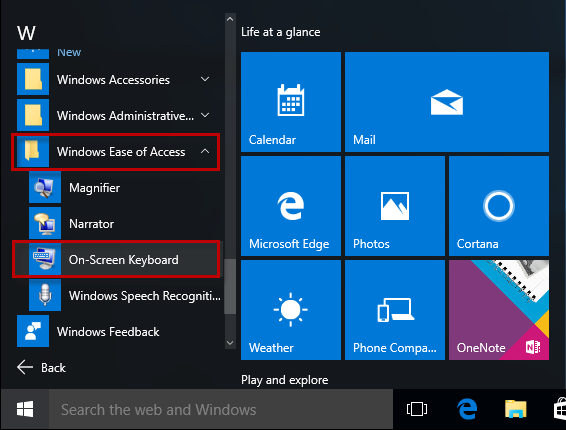
Step 1: Bring up the Windows 10 Start menu by clicking the Windows button or by pressing the Windows key on your physical keyboard.
Step 2: Click All apps, and then scroll down to the Windows Ease of Access. Click on Windows Ease of Access and then click On-Screen Keyboard to open it.
Way 4: via Settings app
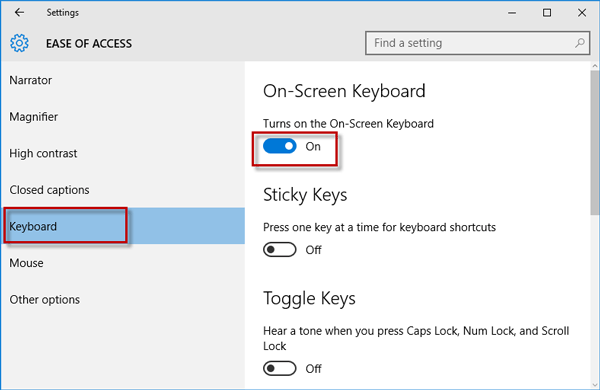
Step 1: Open the Settings app, and then click Ease of Access.
Step 2: On the Ease of Access page, select Keyboard on the left-side panel, and then switch the toggle button under On-Screen Keyboard to the On position to turn on the On-Screen Keyboard.
Way 5: using Command Prompt or Windows PowerShell
Step 1: Open a Command Prompt or Windows PowerShell window.
Step 2: Type in osk, and press the Enter key on your physical keyboard.

Way 6: via Control Panel
Step 1: Open the Control Panel.
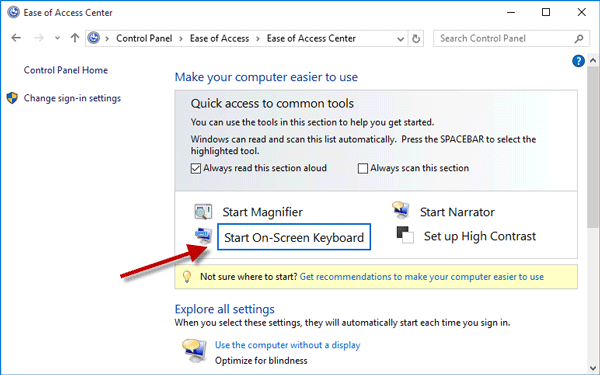
Step 2: Click the Ease of Access, and then click the Ease of Access Center on the next page.
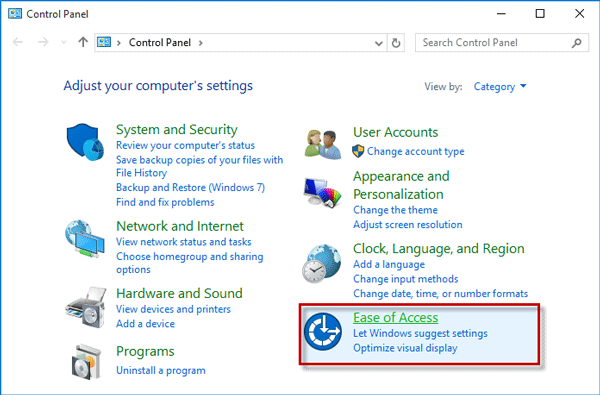
Step 3: Click Start On-Screen Keyboard to open the On-Screen Keyboard.