Sometimes you may don’t want some certain text in your Word document to be seen by others, but at the same time, you don’t want to completely delete the text. In this case, it will be a good idea to hide the text to make it invisible. Now, this post shows how to hide text and show/print hidden text in Word 2016 document.
Part 1: How to hide text in Word 2016
Step 1: Open your Word document.
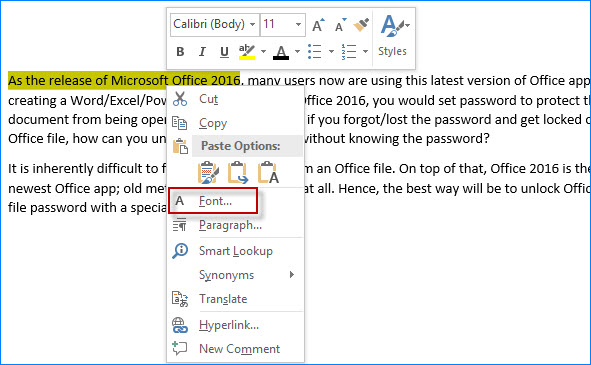
Step 2: Select to highlight the target text you want to hide. Then right click it and select Font.
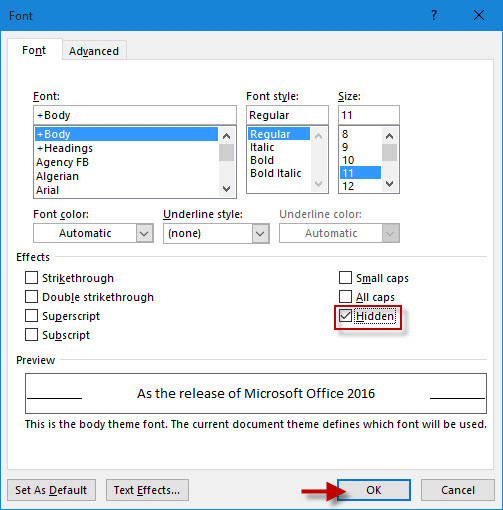
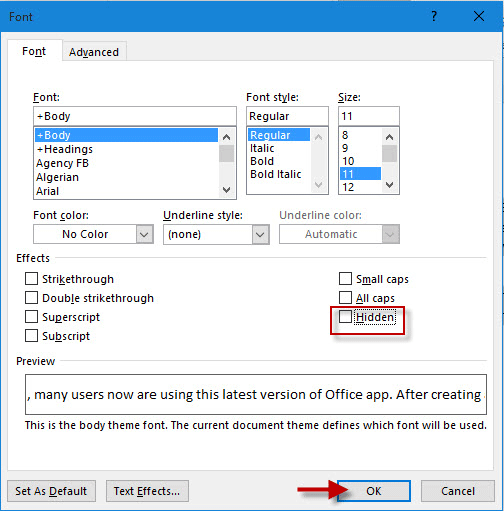
Step 3: In the Font dialog, in the Effects section tick the checkbox next to Hidden, and then click OK.
Step 4: Then you can see your selected text is disappeared from the Word 2016 document. The text is not deleted, but instead just hidden. Then press Ctrl + S to save the document.
Part 2: Show hidden text in Word 2016
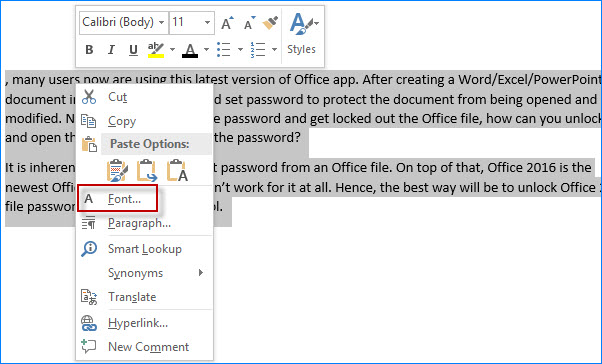
Step 1: Press Ctrl + A to select and highlight all text. Then right-click on any text and select Font.
Step 2: In the Font dialog, in the Effects section click in the box next to Hidden twice to remove the checkmark, then click OK. Then you can see the hidden text is displayed and visible.
Part 3: Print hidden text in Word 2016
When you print a Word 2016 document that contains hidden content, you can choose whether or not to print out the hidden content.
Step 1: Click File -> Options.
Step 2: In the Word Options dialog, select Display, and then navigate to the Printing options section. To print out the hidden content, check Print hidden text and click OK. In order not to print out the hidden content, uncheck Print hidden text and click OK.


