The Command Prompt or cmd.exe is a useful utility built in Windows. Users can use Command Prompt to perform many actions in Windows. Some of the actions may be sensitive and have effects on Windows. Because of this (or for some other reason), you may want to prevent users from using the Command Prompt in your Windows. Now in this post, we will show you how to disable the Command Prompt in Windows 10 by using Group Policy or Registry.
Method 1: Disable the Command Prompt using Group Policy Editor
Step 1: Open the Local Group Policy Editor in Windows 10.
Step 2: In the Group Policy Editor that opens, do the following steps. First, in the left side pane, expand User Configuration > Administrative Templates and then select System. So in the right side pane, you will see a policy setting named ”Prevent access to the command prompt”. This policy is not configured by default, which means the Command Prompt is enabled and accessible by default. Double-click this policy to enable it if you want to disable the command prompt.
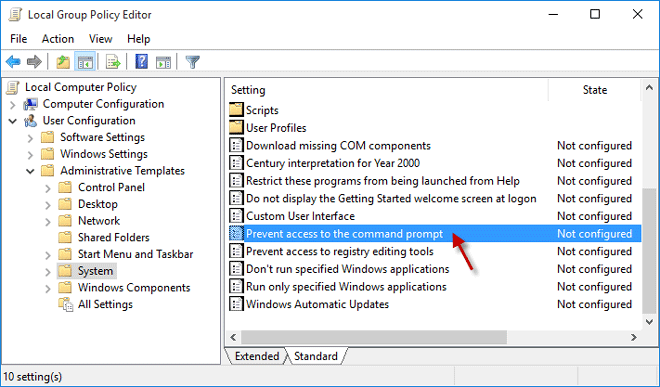
Step 3: Select Enabled, and then click Apply followed by OK.

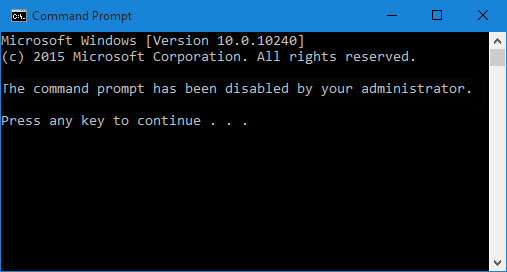
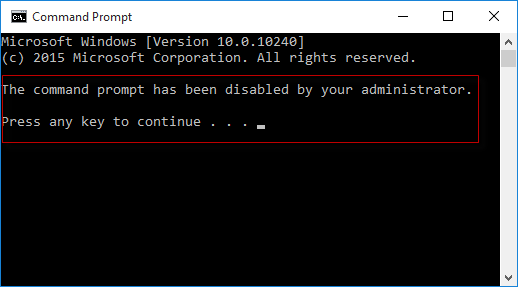
Changes take effect immediately, and the Command Prompt is disabled. From now on, you can open the Command Prompt window, but you can’t perform any task in the window. When you open the Command Prompt window, it will display a message in the window: The command prompt has been disabled by your administrator. Press any key to continue, as shown in the screenshot below.
Whenever you need to enable the Command Prompt just set this policy to Not Configured.
Method 2: Disable the Command Prompt using Registry Editor
If your Windows 10 does not include Local Group Policy Editor, you can use Registry Editor to disable the Command Prompt. Here are steps.
Step 1: Open the Registry Editor in Windows 10.
Step 2: In the left side pane of the Registry Editor, navigate to the key: KEY_CURRENT_USER\Software\Policies\Microsoft\Windows\System.
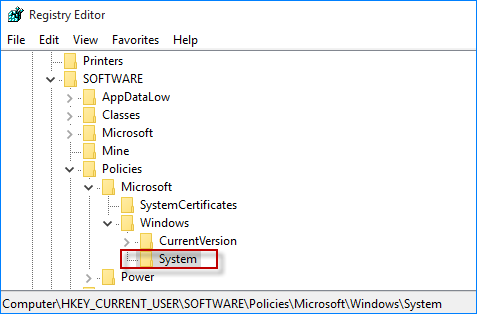
If the System key does not exist under the Windows key, you need to create it. Right click on the Windows key and select New > Key to create a new key, and then name it as System.
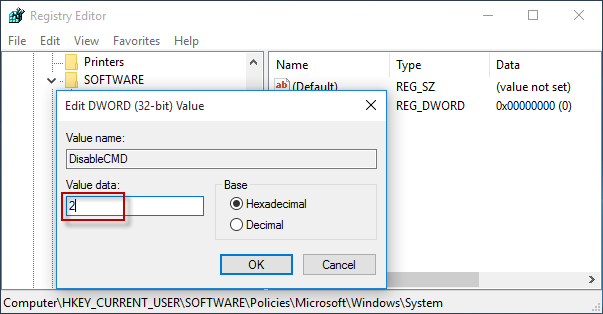
Step 3: Within the System key, you can see a DWORD value named DisableCMD. If the DisableCMD value does not exist, you need to create it. Right click on the System key, and select New > DWORD (32-bit) Value to create a new DWORD value; name the new value as DisableCMD. The value data of the DisableCMD is 0 by default, which means the Command Prompt is enabled and accessible by default. If you want to disable the Command Prompt, double-click the DisableCMD value and set its value data to 2.
Finally, close the Registry Editor. That’s it. Now the Command Prompt has been disabled. Whenever you need to enable it, just set the DisableCMD value data to 0 or delete this value.

