If you want to restrict editing in a Word document, you can start enforcing protection, and just stop protection when you want to remove restrict editing from a Word document. We will show you how to protect specific parts of a Word document from editing and provide stop protection on Word 2016 document without a password.
How to protect specific parts of Word document from editing
To make specific parts of your content read-only, rendering them un-editable, do the following steps.
Step 1: Open the Word document.
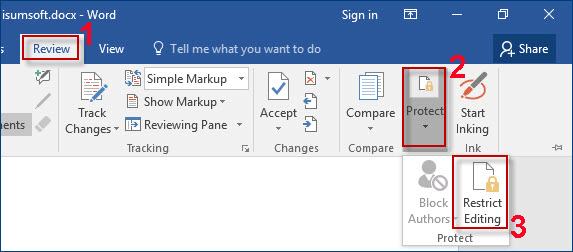
Step 2: Select the Review tab and then click Protect -> Restrict Editing.
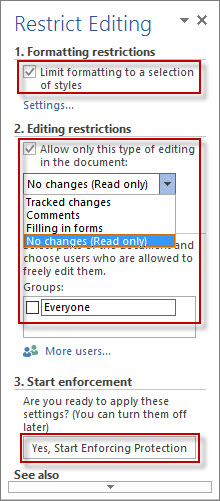
Step 3: In the Restrict Editing pane, check or select your desired items to limit how much others can edit and format the document. For example, you can prevent formatting changes, force all changes to be tracked, or allow only commenting. Then click on Yes, Start Enforcing Protection.
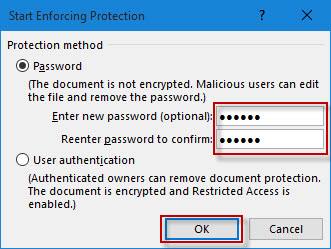
Step 4: Select Password as the Protection method, enter your password and re-enter it again to confirm. Then click OK.
Step 5: Press Ctrl + S to save the changes.
How to stop protection on Word document without password
Option 1: Stop protection with one-click
iSumsoft Word Protection Refixer is an easy-to-use utility that allows you to remove editing restrictions from MS Word 2019-2007 document with a simple click, so that you can easily stop protection and unprotect the Word document without password.
Step 1: Download the iSumsoft Word Protection Refixer tool and install it on your computer.
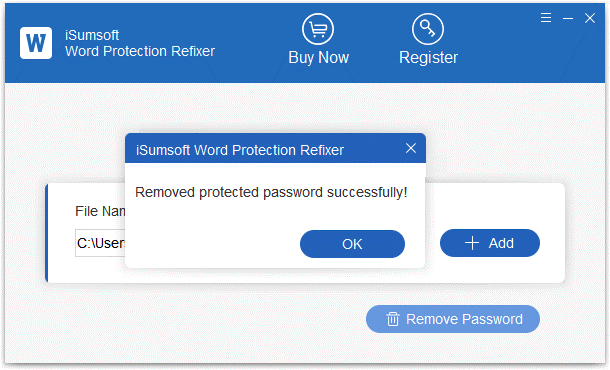
Step 2: Run the Word Protection Refixer program. Click the “Add” button to add the restricted Word file, then click “Remove Password” button.
Step 3: You can see all the restrictions will be removed soon.
Option 2: Manually Remove Protection without Password
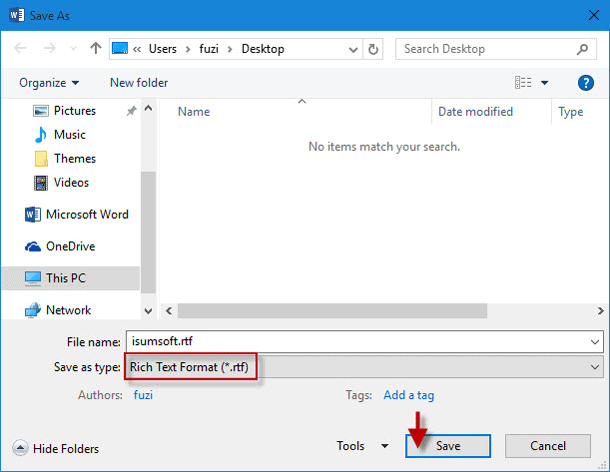
Step 1: Open your Word document. Then click File -> Save as to save it as a Rich Text file (.rtf).
Step 2: Close the current document.
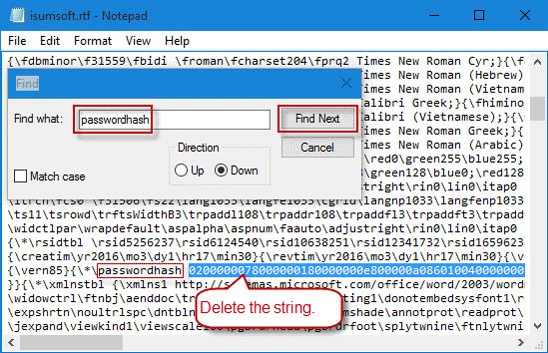
Step 3: Open the *.rtf file with Notepad. Press Ctrl + F to open Find dialog box. Then type passwordhash and click Find Next to quickly find the “passwordhash” string, and then delete the string that follows. Finally, press Ctrl + S to save the changes and then close the notepad.
Step 4: Re-open the .rtf document. Save it in its original .docx format.
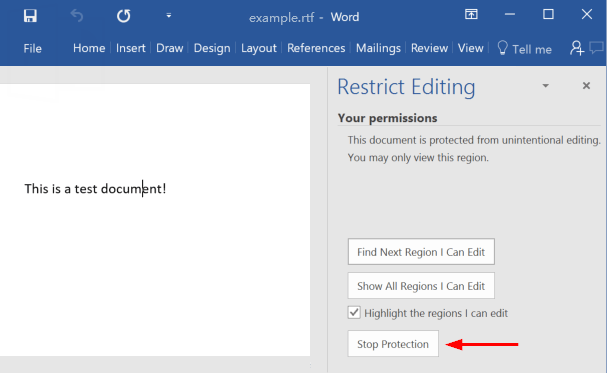
Step 5: Open the .docx document. Select the Review tab and then click Protect -> Restrict Editing. Then click on Stop Protection and you can successfully stop protection on this Word 2016 document without password required.