
Do you think your Windows 10 desktop background is a bit monotonous? Do you get tired of your same old desktop wallpaper? Then why not use a slide show as your desktop background to make your wallpaper more colorful? Now in this post, I will show you how to set slideshow as desktop background in Windows 10.
How to set a slide show as desktop background in Windows 10
Step 1: Prepare one folder that contains all the images you want to include in the slide show. You can, for example, create a folder named Slide Show under the Pictures folder, and then place the images in the Slide Show folder. Of course, you can place the Slide Show folder on your desktop, or on another location, if you want.
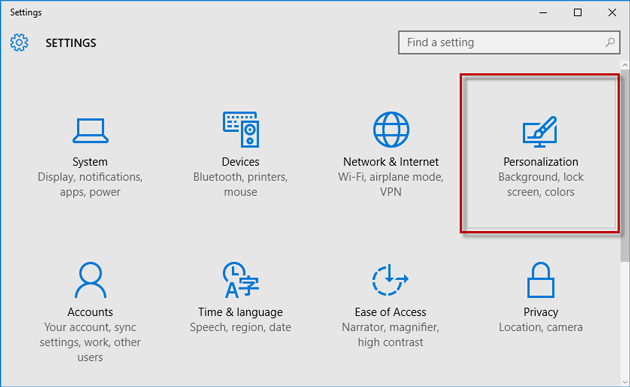
Step 2: Open the Settings app and go to the Personalization page.
Step 3: On the Personalization page, do as follows to set a slideshow as your desktop background.
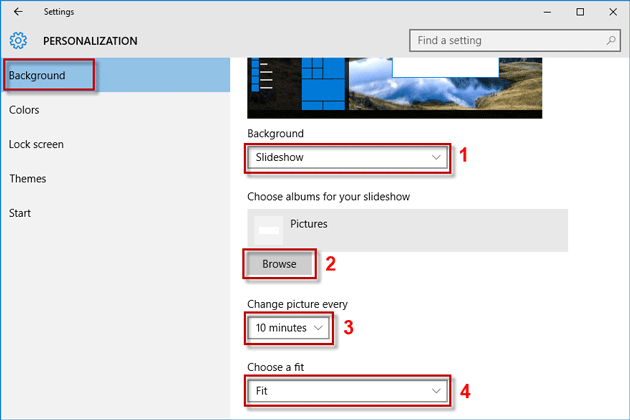
1) Select Background on the left-side pane.
2) Select Slideshow from the menu under Background.
3) Click the Browse button under Choose albums for your slideshow.
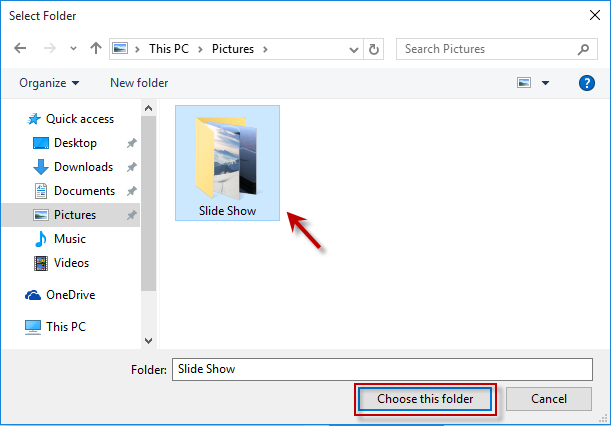
4) Through the ”Select Folder” dialog, navigate to the path to the folder that contains the pictures you want to set as your desktop background, select the folder, and click Choose this folder. It automatically navigates to the Pictures folder by default. That’s why I recommended you from the start to place your slideshow folder under the Pictures folder.
5) Select a time point (or interval) from the menu under Change picture every. You can select 1 minute, 10 minutes, or 1 hour just depending on your desire.
6) Select Fit from the menu under Choose a fit.
That’s it. You have set a slideshow as your desktop background. Windows 10 will change the picture in the time interval you set.

