
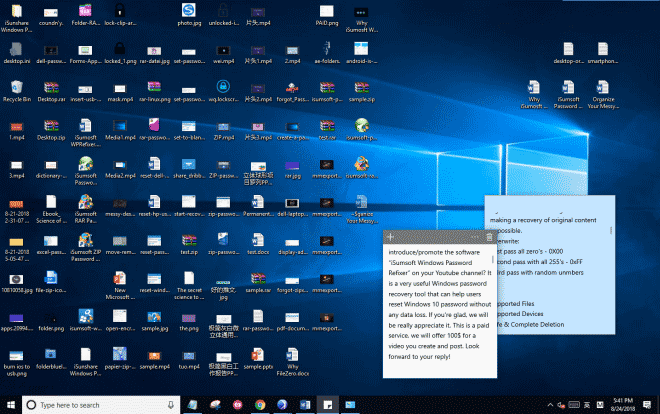
Most people have such a messy Desktop that is filled up with many icons cluttering their desktop. It looks so hard to keep files organized, and it becomes very difficult to locate the one we need, right? It’s not hard to find the main reason cause a messy desktop is a lack of good sorting awareness, habit, and methods. Now, we will share a good solution to organize your desktop for optimal productivity.
Method 1: Organize your Windows 10 desktop manually
The desktop is the user’s work area for their programs. It’s not a way to promote awareness of your program or its brand. Don’t abuse it! A tidy desktop must meet two basic requirements: Simplicity and Efficiency.
- Simplicity means it looks comfortable.
- Efficient means it is easy to find a file or program
Things you can do:
- Delete all unwanted desktop icons and shortcuts.
- Determine how you want to sort and then icons by.
- If you have a lot of icons, you can put them in the theme folder.
- Choose to pin frequently used shortcuts to the Start menu or taskbar.
1. Hide Everything to Get a Perfectly Clean Desktop
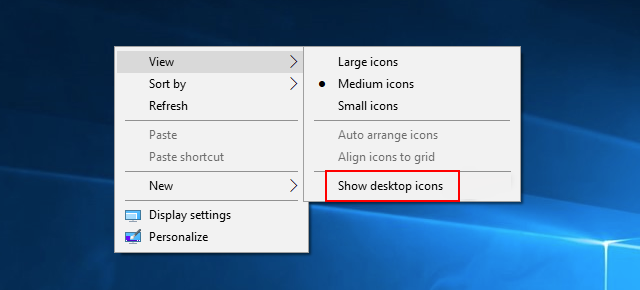
To turn desktop icons on or off, right-click your desktop and select View > Show Desktop Icons. Your desktop will appear empty. To see your desktop icons again, click the “Show Desktop Icons” option again. Or, you can open a File Explorer or Windows Explorer window and click the “Desktop” folder to view the contents of your desktop in a standard file browser window.

Most Importantly, do not put files on the desktop.
Your desktop is supposed to be clean and display that gorgeous high-resolution wallpaper you’ve got going on. On occasion, it can be handy to put a file or two on your desktop for temporary storage. However, it is terrible when too many files stored on your desktop, which not only makes it challenging to locate what you need it, but it can also slow down the speed of your computer.
If you simply want your desktop clutter to look more organized, you should really stop saving documents, downloads and pictures directly on your desktop. Instead, you should get in the habit of using the “Save As” dialogue box to file your document as well as name it, putting it in the right place in the first place.
2. Create a folder system
To create new folders in Windows, right-click on your desktop and select New > Folder from the menu. To rename the folder, click on it, enter a new name, and then press Enter.
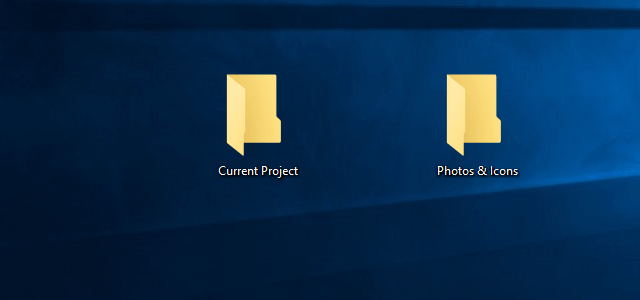
Once you have your folders created, you can begin to classify your files. How you choose to organize your folder system will be dependent on your specific role. For example, I frequently make videos that contain a lot of visual examples. To simplify the process and keep a record of what I’ve included in the past, I’ve created two folders: Current Project and Project Archive.

3. Choose a naming convention for your files
One of my biggest worries, when I implemented a folder system, was that it would be too difficult to find my files once I got organized — ironic, right?
But between documents, screenshots, and other files for the multiple recorded videos I work on each week, there are a lot of different items I’m dropping into folders that can get lost in the shuffle. That’s why I started using a naming convention to organize my files, so I could quickly find them once they were organized into folders.
Choose a naming convention for types of files, topics, projects, or any other way that makes it easy for you to search for them. For example, when I’m creating a video tutorial for ZIP Password Recovery, I use this naming convention:
ZPR-Draft.text, ZPR-Media.mp4, ZPR-Icon.jpg
This way, it’s easy for me to find files.
4. Schedule a weekly or monthly cleaning
To ensure that you’re keeping up with desktop maintenance on a regular basis, you have to get rid of anything unnecessary. This can be a weekly or monthly event, depending on how much damage you typically do.
5. Back up your files regularly
Whether you’re copying your files onto another drive or sharing with others, it’s important to set up and follow a regular back up plan. A good backup solution helps prevent data loss.
More see: How to Classify and Organize Computer’s Data in Windows 10
Method 2: Organize your desktop with tool
While all this may help to a degree, you can also make use of these free desktop organizer software:
- SlideSlide
- LaunchBar Commander
- TAGO Fences.
Let us take a look at them in brief.
SlideSlide
SlideSlide was primarily designed to remove clutter to deliver a desktop that is easy on the eyes. We like it because it is highly customizable, and adding your desktop icons doesn’t take much at all.
LaunchBar Commander
It is typically docked to the side of your screen and lets you configure buttons and menus which will launch your favorites programs.
TAGO Fences
This is a slick and lightweight program that allows users to organize icons in multiple areas called “fences”.
If you want to keep your desktop clean, tidy, and use a very clean and intuitive user interface, this is the best option for you. We like the fact that users simply double-click on any part of the screen to hide or show their desktop icons.