PST file is an Outlook data file that stores your emails messages, contacts, appointments, and other items. When you set up an e-mail account in Outlook using POP3 mail server, a PST file is created and saved in the ‘Documents\Outlook Files‘ folder by default. You also can create additional one or more PST files on your computer for storing or archiving your messages and items. Or you can import a PST file from another location into your Outlook. Now, this article introduces how to create and import a PST file in Outlook 2016 for Windows.
Part 1: How to create.PST file in Outlook 2016
Step 1: Open your Outlook 2016 app.
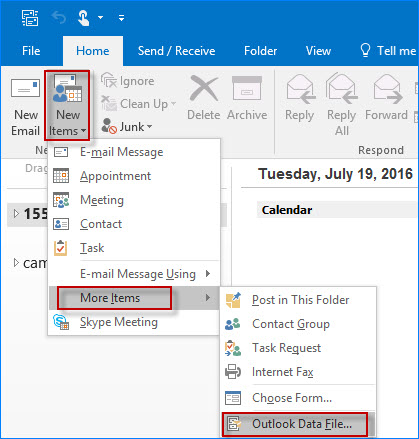
Step 2: Select the Home tab on the menu bar at the top of Outlook. Click the New Items button, then from the drop-down menu point to More Items, and select Outlook Data File.

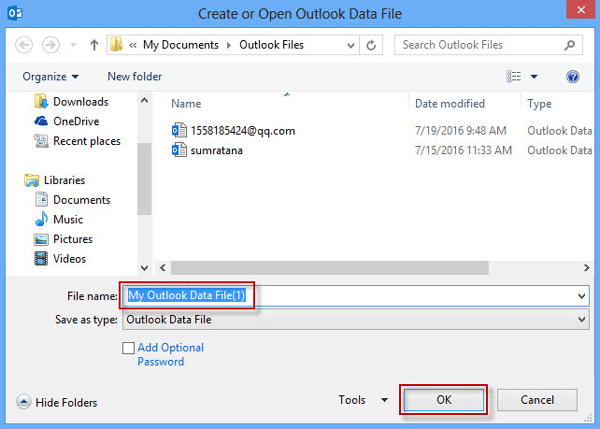
Step 3: In the ‘Create or Open Outlook Data File‘ dialog, it automatically navigates to the ‘Documents\Outlook Files‘ folder where your Outlook data files are saved. If you want to save the PST file to be created in another folder, just manually navigate to your desired folder. Type a name and click OK. Then the name of the newly created PST file will appear in the Outlook data file pane. You can move your messages and other items into the new PST file.

Part 2: How to Import a PST file into Outlook 2016
Step 1: Click the File tab, then in the Backstage click Open & Export, and then click Import/Export.


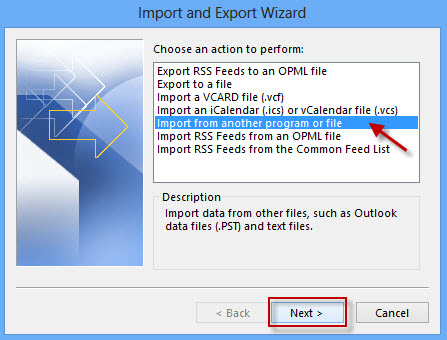
Step 2: On the ‘Import and Export Wizard‘, select ‘Import from another program or file‘, and then click Next.

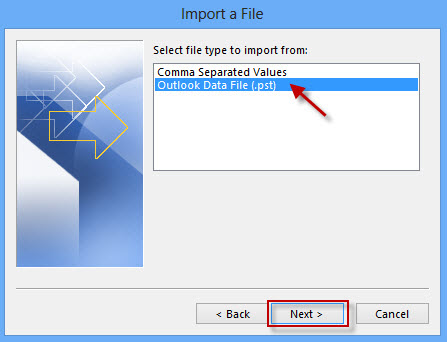
Step 3: Select Outlook Data File (.pst) and then click Next.

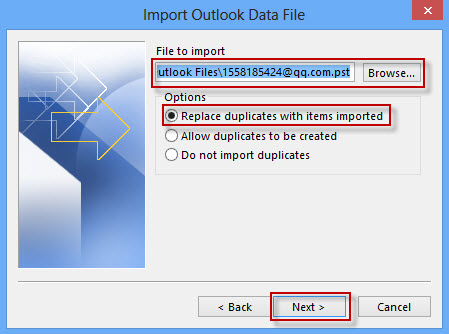
Step 4: In the ‘Import Outlook Data File‘ dialog, click Browse, and navigate to the PST file you want to import to Outlook; select it and click Open. When you are back in the ‘Import Outlook Data File‘ dialog, select your desired option under ‘Options’, and click Next.

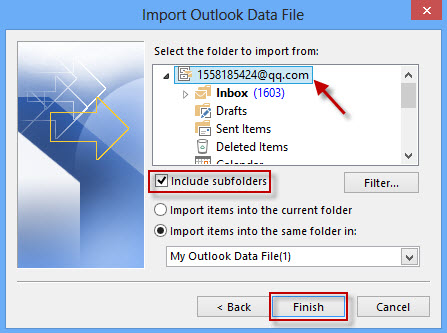
Step 5: Select the top level folder of the .pst file to import from, keep the ‘Include subfolders‘ checkbox ticked, choose which folder the items should be imported into, and finally click Finish.

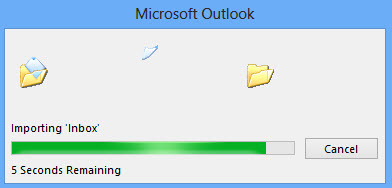
Step 6: Wait till the items in the PST file are imported into the folder you specified.