Local Security Policy is a built-in desktop app in Windows 10. Sometimes you need to use it to make some security settings for the user accounts on your computer. If you have no idea how to open Local Security Policy in Windows 10, check out this post.
5 ways to open Local Security Policy in Windows 10
Notes: The Windows 10 Home edition does not come with Local Security Policy. The five ways below apply on Windows 10 Enterprise/Pro/Education. Make sure you are signed in to Windows 10 with an admin account or you have administrative privileges.
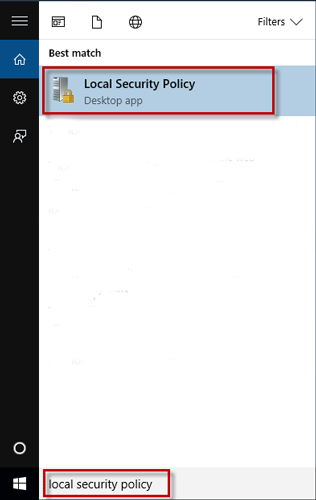
Method 1: through Search
Start typing “local security policy” (without quotation marks) in the Search box on the left side of the Windows 10 taskbar. When the Local Security Policy (Desktop app) shows in the search results list, click on it to open it.

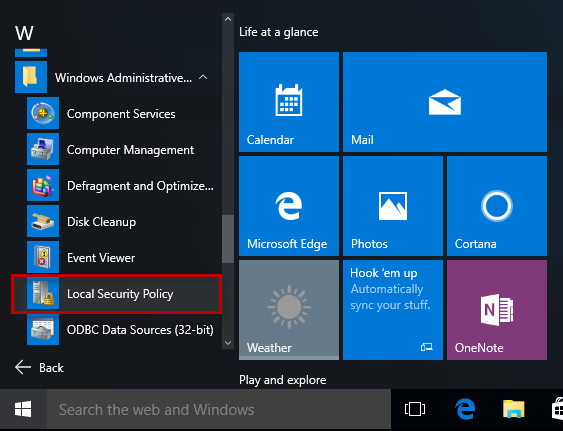
Method 2: from Start menu
Bring up the Windows 10 Start menu, and then click All apps > Windows Administrative Tools > Local Security Policy.

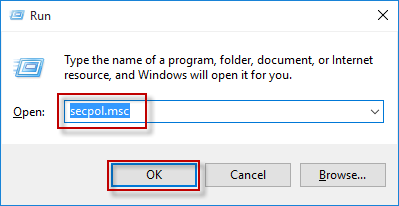
Method 3: via Run dialog
Open the Run dialog box using Win + R key, type secpol.msc in the field and click OK. Then the Local Security Policy will open.

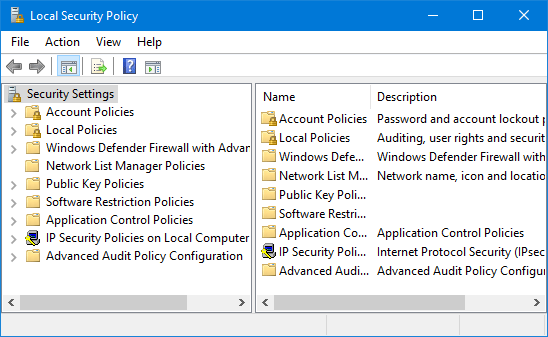
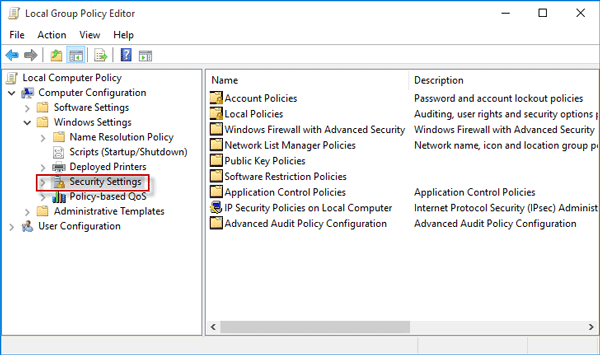
Method 4: through Local Group Policy
Open the Local Group Policy Editor, and then go to Computer Configuration > Windows Settings > Security Settings.

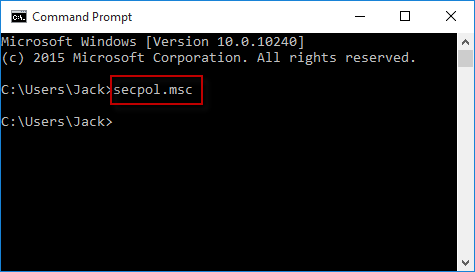
Method 5: with Command Prompt or Windows PowerShell
Step 1: Open a Command Prompt window or open a Windows PowerShell window.
Step 2: Type in secpol (or secpol.msc) and press the Enter key. Then the Local Security Policy will open.