
Temporary files often store in your hard drive, but if you store them all the time, they will take up your disk space and even slow down the speed of your computer. So, clearing temporary files is a good way to release disk storage space. Here we show 3 ways of cleaning up temporary files in your Windows 7 computer safely for your better choice.
To remove temporary files in Windows 7, follow the steps below.
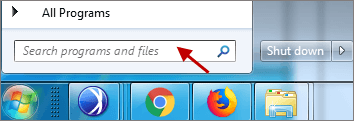
Step 1: Click Start menu and tap Search programs and files.
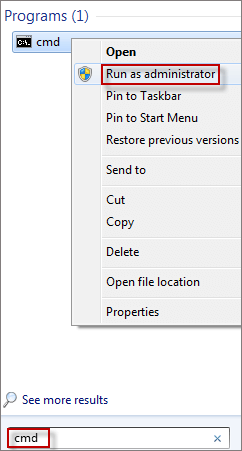
Step 2: Type cmd in the search field, right-click it and select Run as administrator.
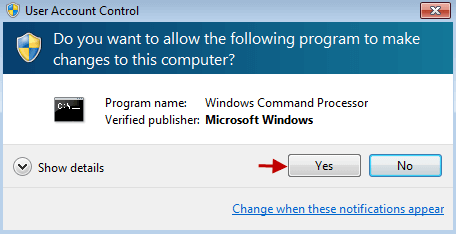
Step 3: Then pops up window of User Account Control, click Yes button.
Step 4: In the Command Prompt window, input these commands as follow:
1. rd /s /q %temp%
2. mkdir %temp%
3. rd /s /q c:\windows\temp\
4. mkdir c:\windows\temp\
Note: After typing each command, and then press Enter.
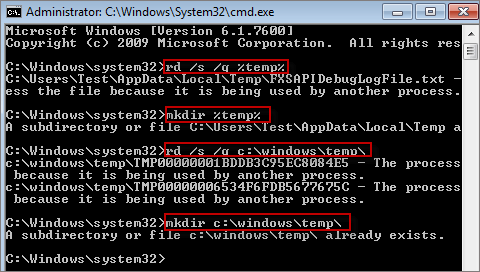
It will automatically clean up these temporary files from Windows 7 Command Prompt.
To clear temporary files in Windows 7, follow the instructions below.
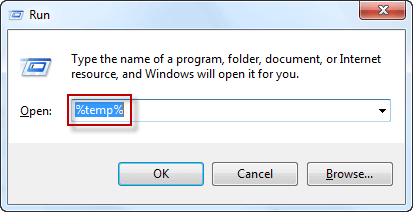
Step 1: Click Start menu and input %temp% in the search box, and press enter. (Or press Win+R to access Run dialog box, type %temp% and click OK button.)
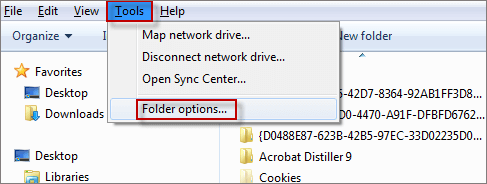
Step 2: When appears Temp folder window, hit F10 keyboard, select Tools and Folder options.
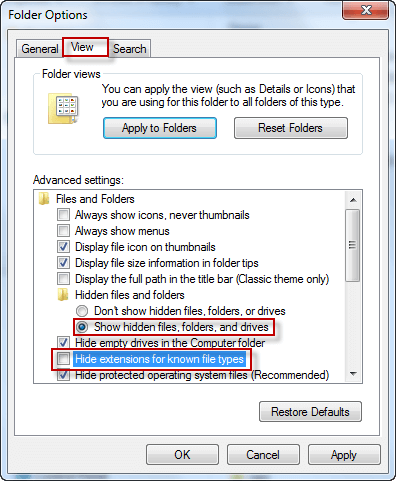
Step 3: In the Folder Options window, tap view option. Choose Show hidden files and folders and drives > unselect Hide extensions for known file types. Click OK button.
Step 4: To deselect Hide protected operating system files (Recommended), you can hit it.
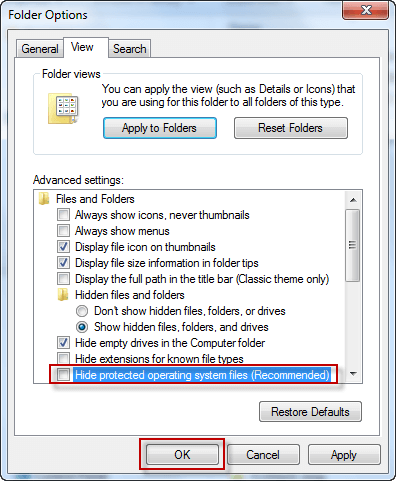
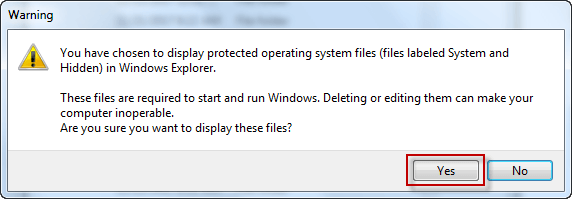
Step 5: And this time, it will pop up a Warning window, just click Yes to display these files.
Step 6: Press Ctrl+A keyboards to select all the files, right-click to choose Delete button.
Step 7: Click Yes button to move these 955 items to the Recycle Bin.

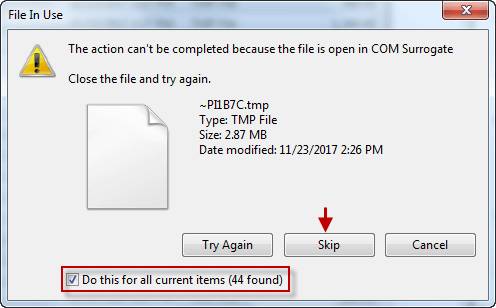
Note: It appears a prompt "File in use" due to some files may not be able to be deleted, please tick the box in the front of Do this for all current items, and press Skip button.
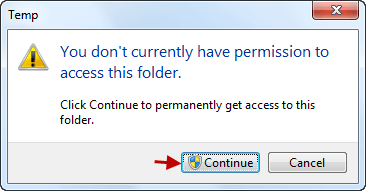
Step 8: Click Continue to permanently get access to this folder.
Advice: You can close the folder window and empty your Recycle Bin, permanently removing the files from your PC.
To clear temporary files in Windows 7, to do so:
Step 1: Click Start > write %temp% > press enter.
Step 2: In the Temp folder window, click Organize and choose Select All from the pop-up list.

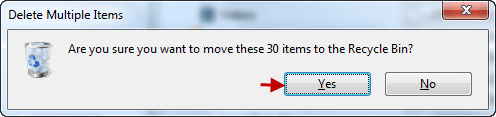
Step 3: Hit Delete key on your computer keyboard and there is a prompt that you can click Yes button to delete multiple items into the recycle bin.
Note: In order to permanently remove these files from your Windows 7 computer, you need to empty the Recycle Bin.
 Delete Temporary Internet Files from any browser
 Automatically Clear Temporary Internet Files Folder When IE is Closed
 How to Remove All Junk Files from Windows 10 Computer
 Quick Tricks to Delete Browsing Data and History for Any Browsers
 How to Permanently Delete/Erase Files from USB Flash Drive on Windows
 How to Permanently Delete Files from Computer without Recovery