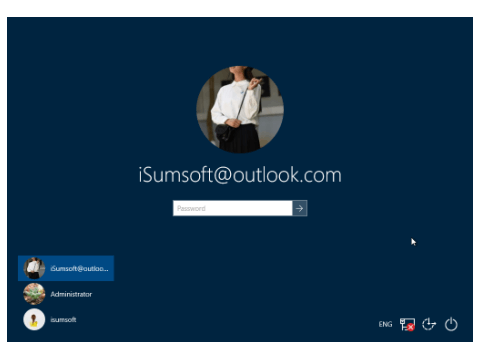
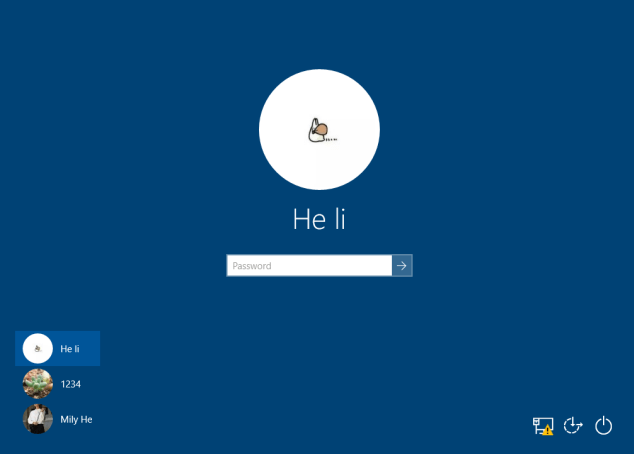
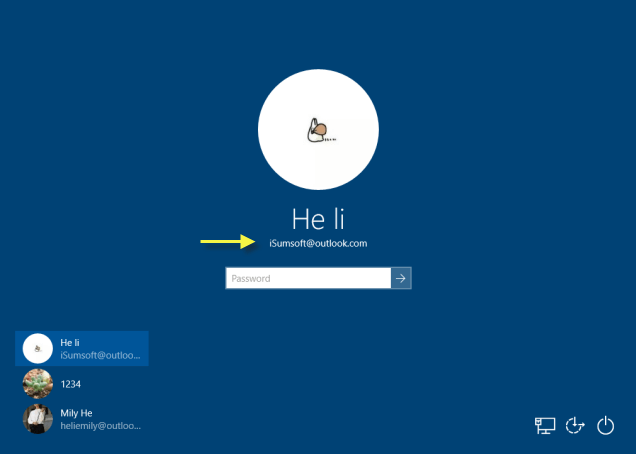
By default, Email addresses of Microsoft accounts are now hidden on the sign-in screen.
If you wish the account details appear when you login, so that you can easily tell if the user is a local account or a Microsoft account when you sign in to Windows 10. Follow this guide to learn how to show account details on the sign-in screen in Windows 10.
Step 1: Click the Start menu, open Settings, then click on the Accounts icon.
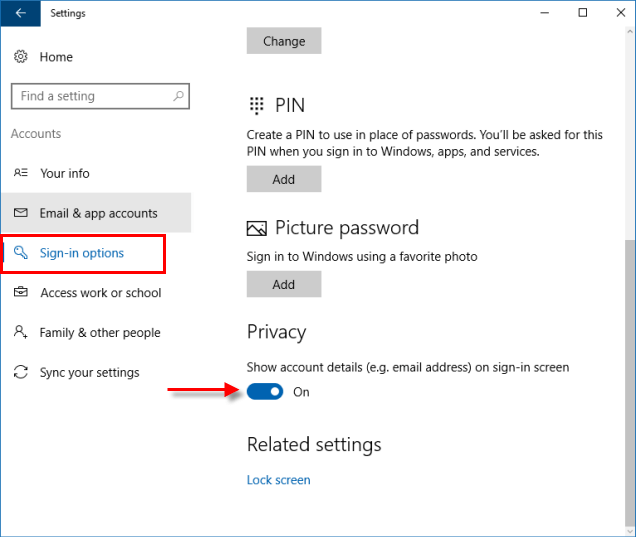
Step 2: Click the Sign-in options tab on the left-hand side. On the right-hand side, scroll down to the Privacy section and you will see the option named Show account details (e.g. email address) on the sign-in screen. Toggle that switch to turn it On, so that email address is shown on the sign-in screen.
Step 3: When finished, you can close Settings, and restart your PC to verify.
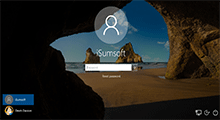
If you want to hide account details (ex: email address) on the sign-in screen, turn off this switch.
Tips: If you've turned on the Show account details (e.g. email address) on sign-in screen option in the Settings app but your email address is still not shown at the login screen, it's possible that you've enabled the group policy Block user from showing account details on sign-in.
Use the following ways to enable the user to show account details on the sign-in screen.
Local Group Policy Editor is only available in the Pro, Enterprise, and Education editions of Windows 10.
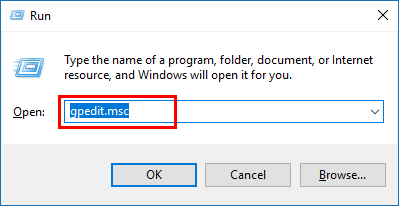
Step 1: Open the Local Group Policy Editor.
Step 2: In the left pane of Local Group Policy Editor, navigate to the location below:
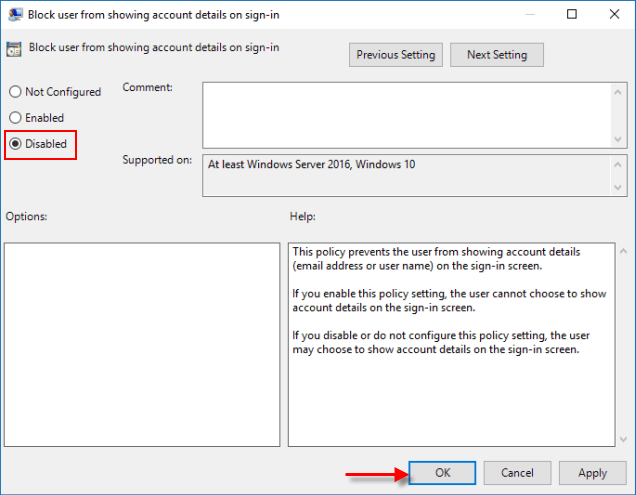
Computer Configuration\Administrative Templates\System\Logon. In the right pane of Logon, double-click on the Block user from showing account details on sign-in policy to edit it.
![]()
Step 3: Select Disabled or Not Configured option if you allow email address displayed at the sign-in screen. Then click on Apply followed by OK.
When finished, you can close the Local Group Policy Editor. You can restart the computer to verify.
To enable show account details on the sign-in screen, you can create a new registry key, then add and modify the DWORD value in the registry key.
Step 1: Open Registry Editor.
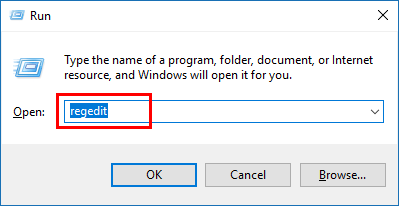
Press Win + R keys to bring out the Run dialog box. Then type regedit, then press Enter.
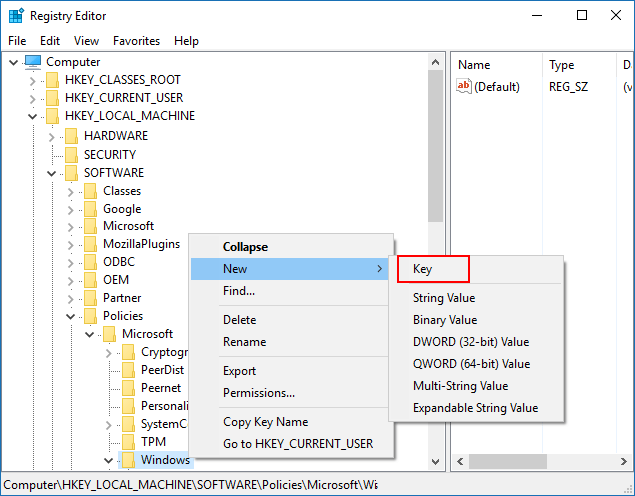
Step 2: When the Registry Editor opens, head to the following path: HKEY_LOCAL_MACHINE\SOFTWARE\Policies\Microsoft\Windows\System
Right-click the Windows folder, then click New > Key. Name this new key as System.
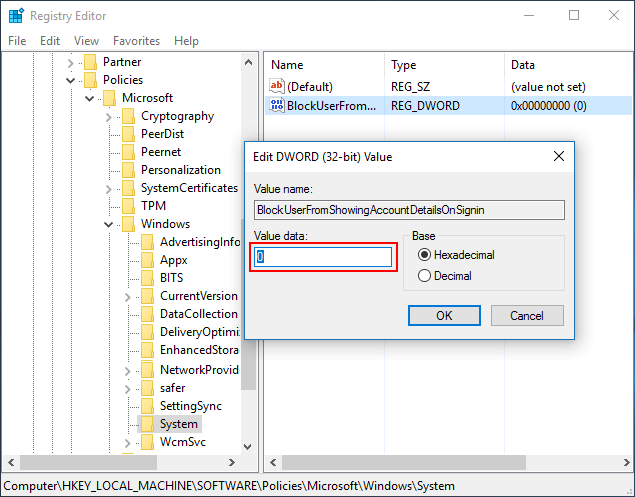
Step 3: On the right pane of System, select New > DWORD (32-bit) Value. Name it with BlockUserFromShowingAccountDetailsOnSignin. Then double-click this new value and change the Value data to 0. Then click OK.
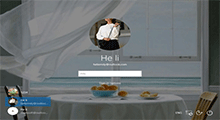
Step 4: Exit Registry Editor and restart your computer. When you come to the login screen, you can see your email address is shown Windows 10 login screen.
Tips: If you want to hide some of the user accounts in Windows 10 and make them invisible on the sign-in screen, click the link to learn how to do it.