This post provides how to add and remove Trusted Device associated with your Microsoft Account Online.
Tips: You may need to verify your Microsoft account if you have not done that.
If you don't want to enter a security code each time when you try to access sensitive info associated with your Microsoft Account. You can set your PC as a Trusted Device with your Microsoft Account Online.
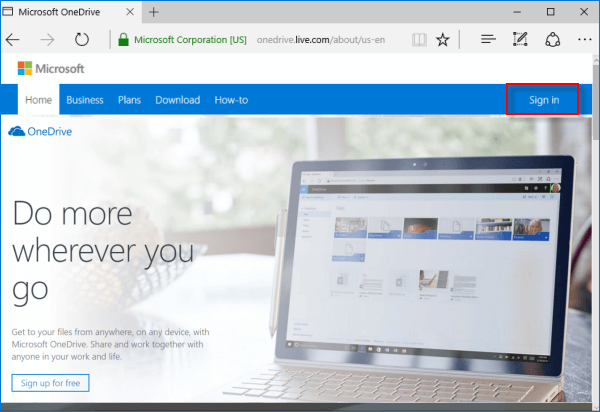
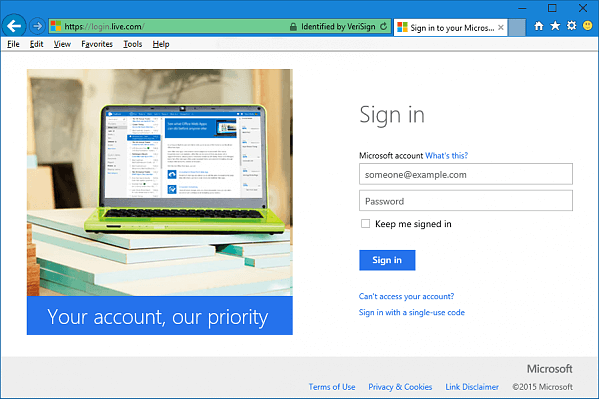
Step 1: Go to the website, such as Sign in to your Microsoft account, Sign in to OneDrive, to sign in with your Microsoft account.
Step 2: Select how you would like to get your security code for verification, enter the required information, and click on Send code.

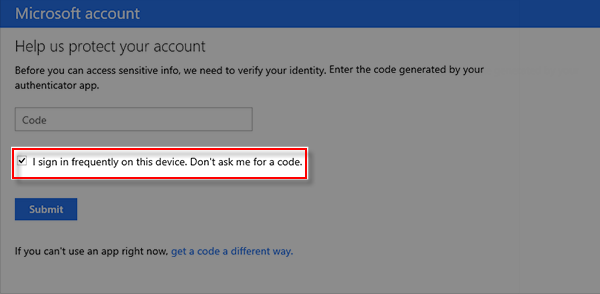
Step 3: Enter the code you received, Then check the box ''I sign in frequently on this device. Don't ask me for a code.''. And then click on Submit.
Step 1: Go to the Sign in to Microsoft account site, and sign in with your Microsoft account.
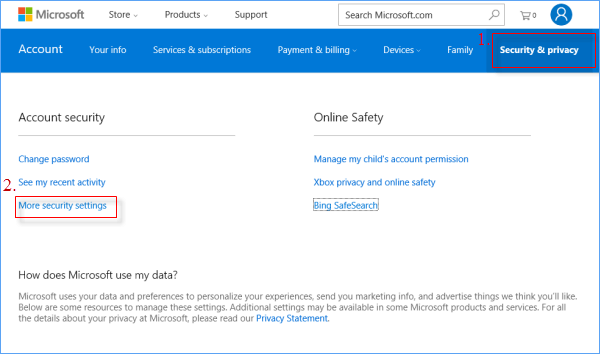
Step 2: Click on the Security & Privacy tab, and click on the More security settings.
Step 3: Scroll down to the Trusted devices section, then click the Remove all the trusted devices associated with my account link.
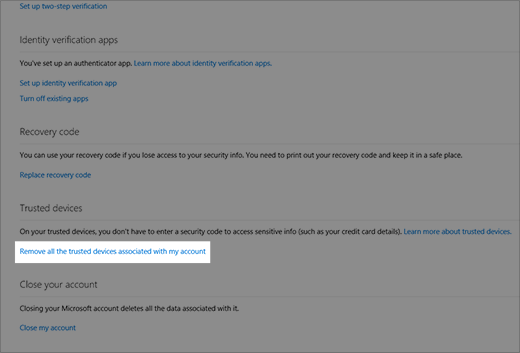
Step 4: Click on Remove all trusted devices to confirm.