
File History is a practical file backup app built into Windows 10. It can automatically save copies of your files from your computer to an external or network drive, so that you can restore your files when they get lost, damaged, or deleted.
If you have already enabled File History to back up files on Windows 10, how can you restore the files when needed? Although you can go directly to the backup drive and then copy the backed-up files back to your computer, restoring files with the File History app is usually more convenient. In this article, we will show you how to restore files from File History on Windows 10.
In short, you can follow these two steps.
In Windows 10, there are many different ways you can open the File History application window that allows you to restore files.
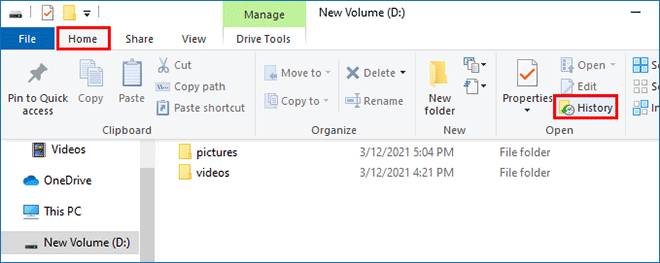
Way 1: From File Explorer. Go to File Explorer, open the drive or folder you have backed up using File History, and then click the History option on the Home tab.
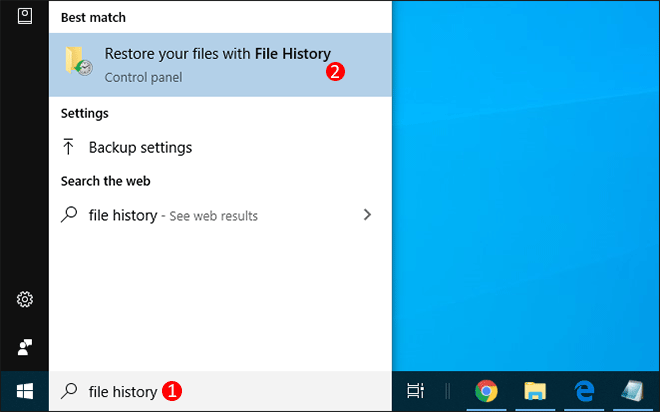
Way 2: Using Windows search. Type file history in the search box next to the Windows button, and then click Restore your files from File history appearing in the search results.
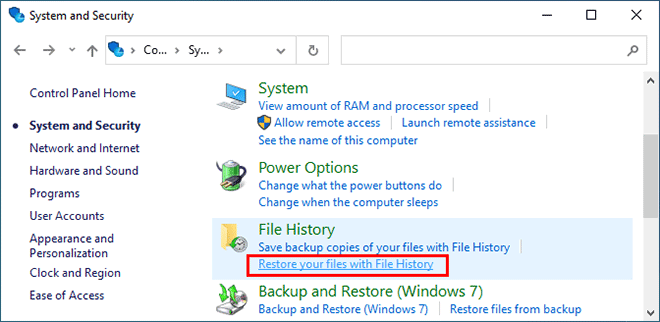
Way 3: From Control Panel. Go to Control Panel > System and Security > Restore your files with File History.
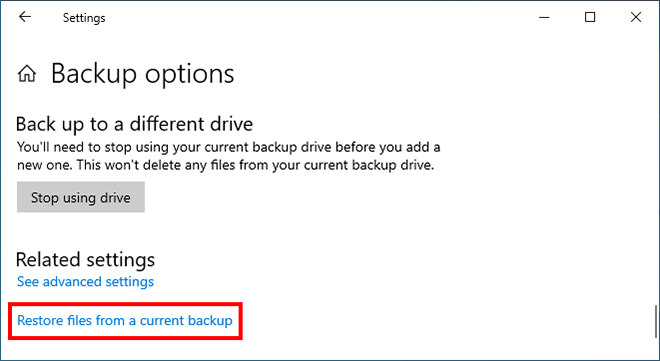
Way 4: From Settings. Go to Settings > Update & Security > Backup. On the Backup settings panel, click More options under the "Back up using File History" section. Scroll down to the bottom of the page and then click "Restore files from a current backup".
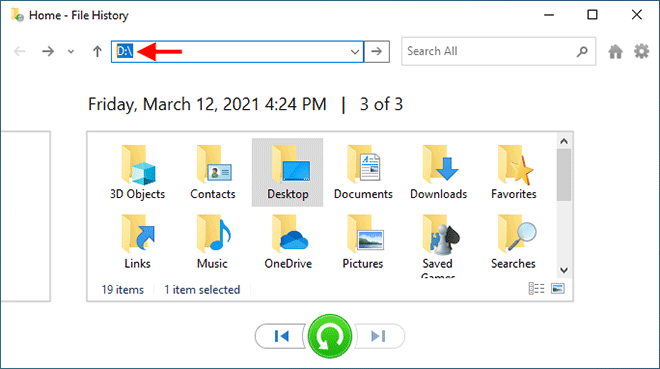
1. When the drive or folder's File History window opens, you can preview all backed-up folders and files from there. If there are multiple backup versions, you can click the left and right arrows at the bottom of the windows to switch to different versions.
If you can't find the backup you want, search it in the search box at the top of the window. For example, you can enter the path to the backed-up folder, such as D:\, and then press Enter.
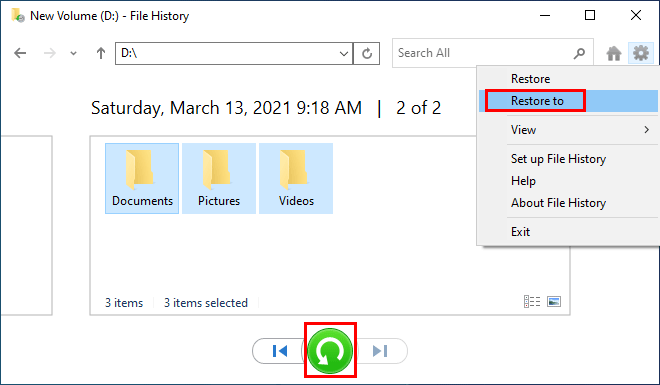
2. Select the files you want to restore, and then click the Restore button at the bottom to restore the files to their original location. Or, you can click the gear icon at near the top right corner of the window, and then select Restore to from the menu to restore the files to your desired location.
In addition to the File History window, you can also restore File History backup from the folder's Properties dialog. Here is how.
Step 1: Right-click the drive or folder you have backed up using File History, then select Restore previous versions from the menu.
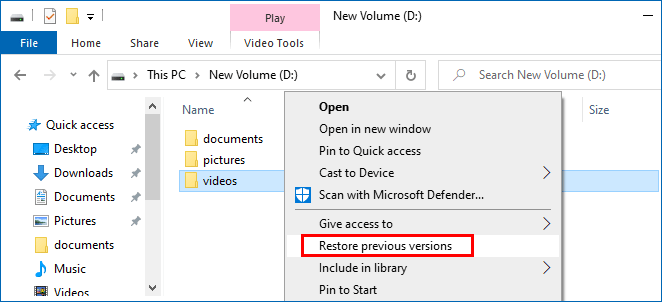
Step 2: The folder's Properties dialog opens, and its File History backups are displayed under the Previous Versions tab. Select a backup version and click the Restore button to restore the folder to its original location.

 File History Backup Stopped Working? Fix it in 6 Useful Ways!
 File History Does Not Recognize This Drive? 5 Effective Ways Here!
 How to Fix Windows 10 File History Backup No Usable Drives Found
 2 Ways to Delete Old File History Backup on Windows 10
 How to Create and Use System Restore Point in Windows 10
 6 Ways to Back up Personal Data in Windows 10
 How to Backup Windows 10 Computer to External Hard Drive
 How to Backup Data without Booting into Windows 10
 How to Back up and Restore Sticky Notes in Windows 10