This is a quick guide on how to change Workgroup name on your Windows 10 PC to join an existing workgroup on a network or create a new one.
Use these steps, you can change the displayed name in the sign-in screen on your device to make it more private.
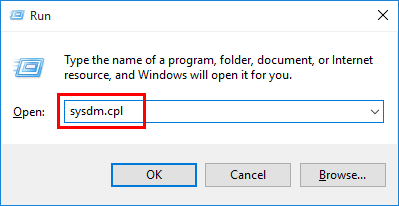
Step 1: Open the System Properties.
Press Win + R keys to bring up the Run dialog. Type sysdm.cpl Run Command and press Enter key.
Tips: If prompted by UAC, then click/tap on Yes.
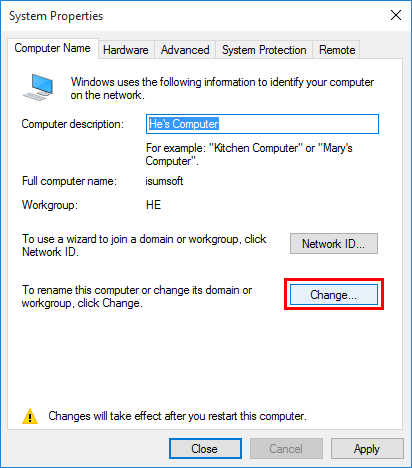
Step 2: Locate to Computer name tab. Then click the Change button.
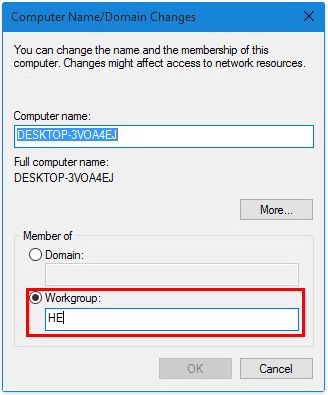
Step 3: Type a new name under the Workgroup box. Then click OK.
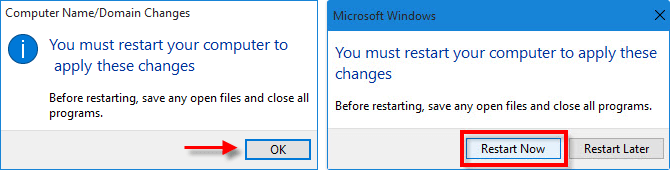
Step 4: When it pops up a dialog asking you to restart the computer to apply the changes. Just click OK, then restart your PC to make it effective.
You can quickly change the Workgroup name by executing the command in Command Prompt window.
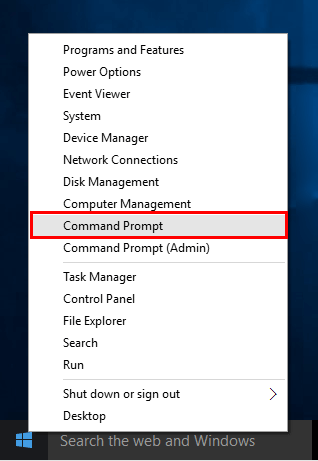
Step 1: Right-click on Start icon on the Start menu, select Command Prompt from the menu.
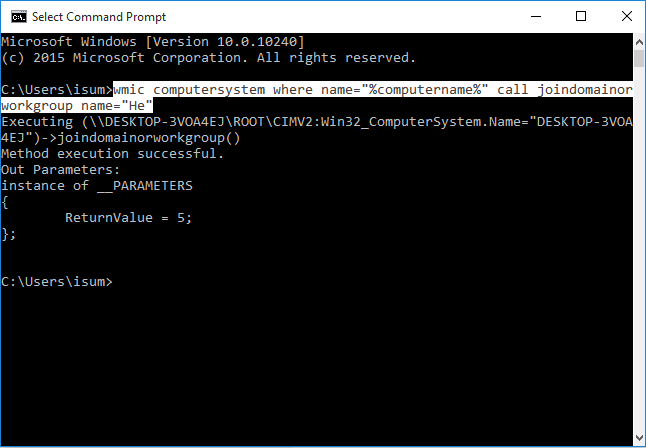
Step 2: In the Command Prompt window, execute the following command:
wmic computersystem where name="%computername%" call joindomainorworkgroup name="Workgroup-Name"
When finished, close the command prompt, and restart the computer to apply.