
By default, any file you share is protected with a username and password on Windows 10. This means that only people with the correct account and password can access network shared files. If you want to set up file sharing on the local network for family members or people you know, you can disable the requirement to log in with Windows credentials to allow users to access files on the shared computer without a password. You must log in as an administrator to turn password-protected sharing on or off.
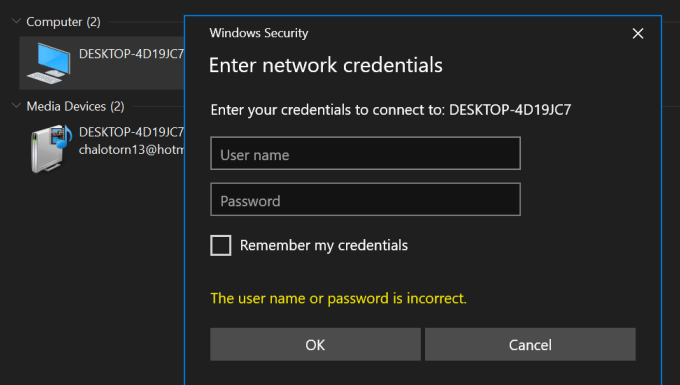
Password-protected sharing is a networking based feature in Windows 10, with which you can allow or block other users on your system to access shared files, printers and public folders provided that they sigh in to a password-protected local user account on the computer. By default, this feature is turned on and someone else having a the correct user name and password of your system can go to Network pane in the File Explorer, to access the shared data.
Example: "Enter network credentials" prompt for password protected sharing.
When you're in a safe network environment, you can disable password protected sharing so that anyone on the local network will be able to access your shared resources without entering network credentials.
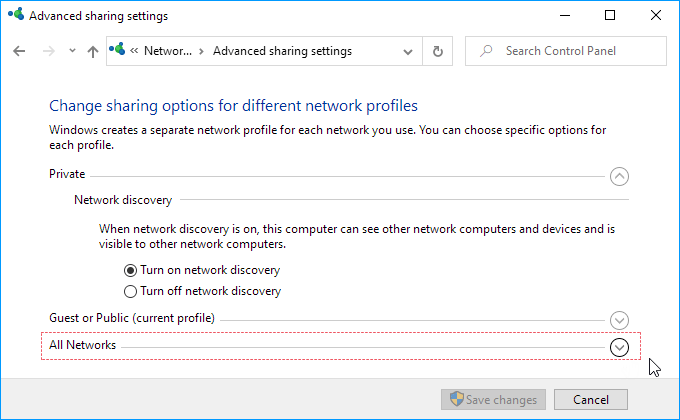
Step 1: Go to the Search box, type advanced sharing, then hit Enter key to open the Advanced sharing setting.
Step 2: Click on the downward arrow to expand the All Networks section.
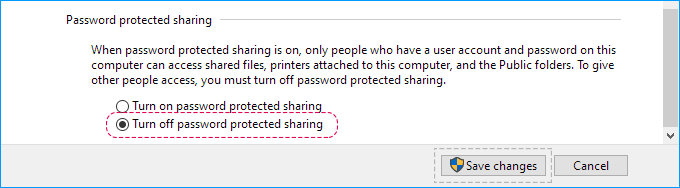
Step 3: Under Password protected sharing, check the option "Turn off password protected sharing" and then click Save changes.
Some users reported that password-protected sharing cannot be turned off after updating to the latest version of Windows 10. If you go back to the Advanced sharing settings, and you find that password-protected sharing is still turned on. This problem usually occurs when your Guest account is password protected. To resolve this issue, you need to find and remove the GUEST account password, so the system will allow password-protected sharing to be modified.
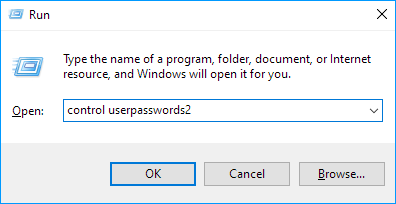
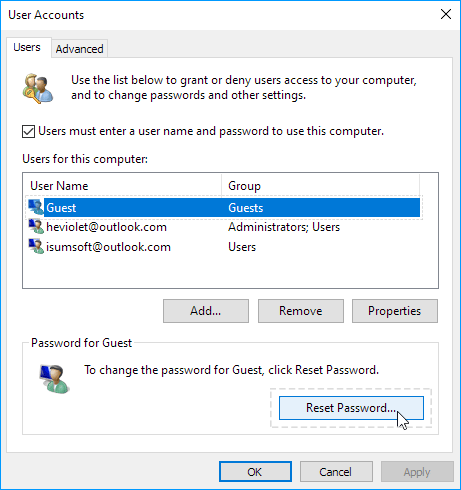
Step 1: Press the Win + R keys to open the Run dialog. Enter control userpasswords2 then click OK.
Step 2: Select the Guest Account and then click Reset Password button.
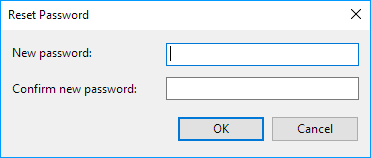
Step 3: Leave the New password and Confirm new password fields blank. Then click OK.
 How to Share Screenshots on Microsoft Surface
 How to Sharing Files Wirelessly Between Windows 10 Nearby
 3 Methods to Show Hidden Files and Folders in Windows 10
 How to Encrypt and Decrypt Files/Folders in Windows 10
 How to Turn off Password on Windows 10
 Create Shared Folder for Host PC and Windows 10 Sandbox