From my perspective, it is easy and quick for you to upgrade from Windows 10 S device to Windows 10 Pro. If you want to try to roll back it. Here are 2 ways to show you how to roll back to Windows 10 S. Let us go on:
Switching from Windows Pro to Windows 10 S is both easy and fast. Here is how to do that:
1. Go to Microsoft web site to download a recovery image.
2. And Sign in your account and enter your Surface serial number.
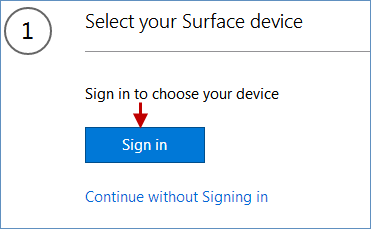
Important: If this shows that your Surface device is not listed here. You can select your Surface product, and enter the Surface product's serial number. Click the Continue button, it will jump to the next dialog.
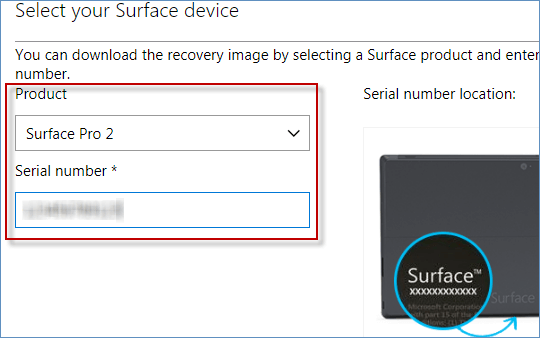
Tips: Learn more about how to find Surface serial number.
Next, click the Download recovery image button to begin to download the recovery image for your Surface. Then the image files will be downloaded in a compressed folder (.zip file).
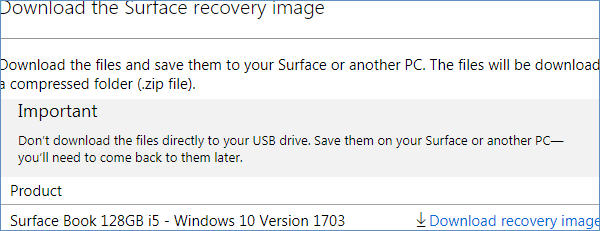
Note: Don't download the files directly to your USB drive. Save them on your Surface or another PC - you'll need to come back to them later.
3. After downloading, copy or drag the image file to a USB drive that has been formatted to FAT32 prior. (not NTFS)
Note: Once the USB is formatted, everything stored on your USB drive will be deleted. So, make sure there is no important data on it, if any, move elsewhere.
4. Double-click the recovery image zip file, and decompress the recovery image on the USB drive.
5. Next, connect the USB drive that is formatted to your Surface.
Note: If your Surface is on, power off it.
6. Then, press and hold the Volume down (-) button while pressing and releasing the Power button, when the Surface logo appears, you can release the volume down (-) button. That will start the recovery process. For more details, please see this article: how to boot Surface from the USB drive.
1. Select Troubleshoot > Recover. If you're asked what to recovery, you can hit Skip this drive at the bottom of the screen. Then, select the current operating system that's installed on your computer.
2. Next, choose one of the option: Just remove my files or Fully clean the drive. This controls Microsoft's current data decomposition quantity on the hard drives.
3. Finally, click the Recover button, which will restart your Surface and install Windows 10 S on your Surface. When it is done, your Surface Laptop will be back to Windows 10 S successfully.
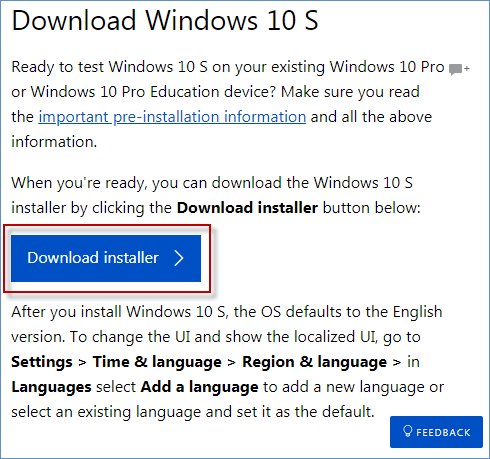
Step 1: Go to the Microsoft official site, and click Download installer button.
Step 2: After downloading, run the Windows 10 S Installer.
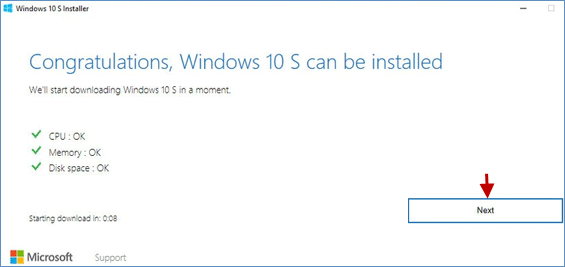
Step 3: The Installer will check your PC to make sure if it is eligible for the downgrade. If you get the message Congratulations, Windows 10 S can be installed, click Next button.
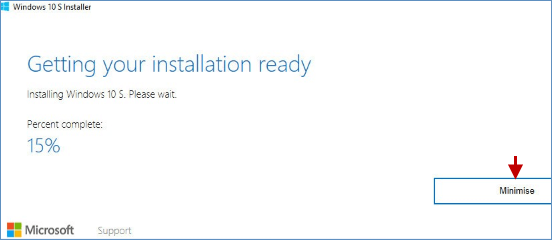
Step 4: The Installer will download Windows 10 S and start getting your installation ready. During this process, you are still able to go back to use your PC normally. Please wait for it patiently, this process will take you some time.
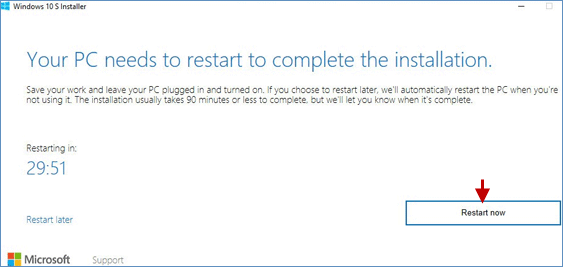
Step 5: Next, your PC needs to restart to complete the installation. It will give you a certain amount of time, select Restart now to continue the installation.
Step 6: After the installation is finished, Windows 10 S is back on your computer.
Tips: Once you've upgraded to Windows 10 S, you can also roll it back to Windows 10 Pro. Here's how to do it.