
It is a great assistance for you to add a network location in Windows 10, which will allow you to directly access FTP, Windows file sharing and some HTTP servers in my network without using FTP client. Hence, we strongly recommend you to add a network location in your Windows 10. In this text, you can learn how to add a network location in Windows 10, as exhibited in the following photo.
Here's how:
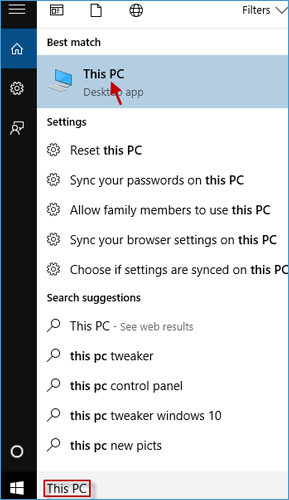
Step 1: Inputting This PC in the Search field and click it quickly to open File Explorer.
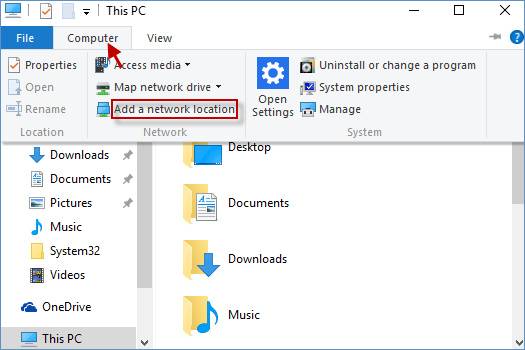
Step 2: Hit Computer option and choose Add a network location. ( Or directly right-click This PC on the left pane to select Add a network location. )
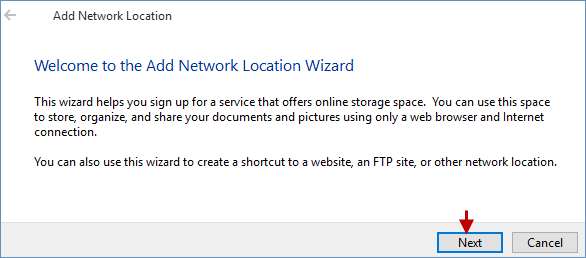
Step 3: Then the add a network location wizard window will be opened, just click the Next button.
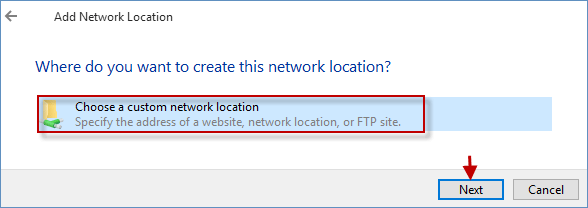
Step 4: To create this network location, click Choose a custom network location, tap Nextbutton.
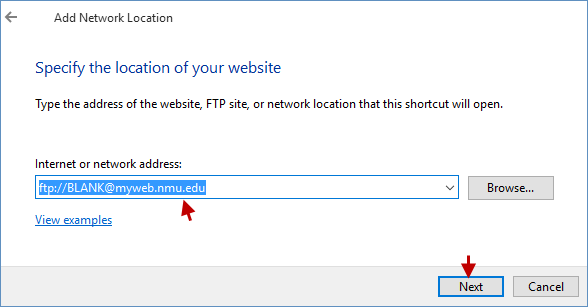
Step 5: In the Search box, write your network location, network address or FTP sit whatever you like and click Next button.
Step 6: Typing a name for this network location in the blank box and hit Next button.
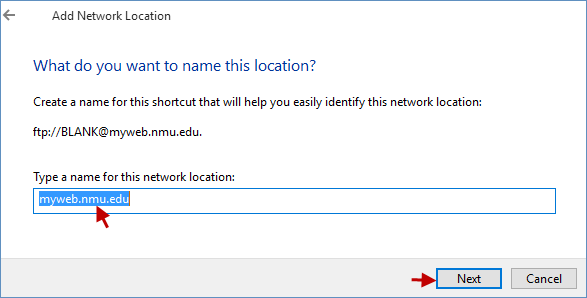
Important: Create a name for this shortcut that will help you easily identify this network location.
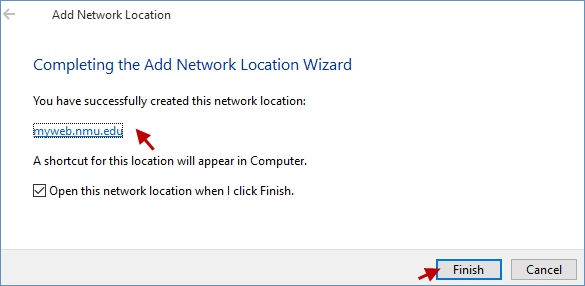
Step 7: Hit Finish button.
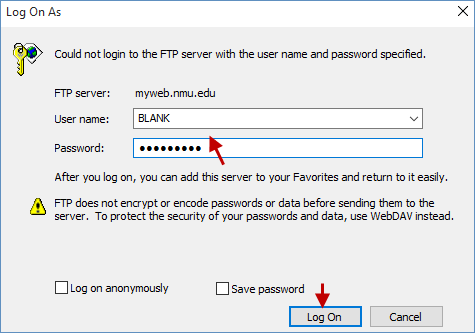
Step 8: When a login screen pops up, please write your User name and Password, and then click Log on button.
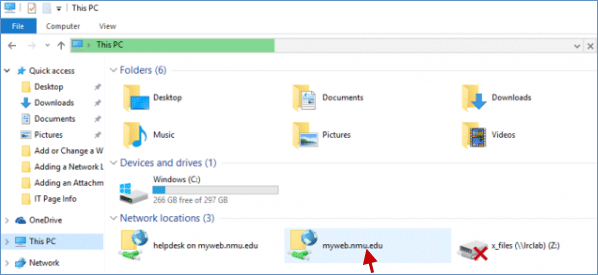
Step 9: At last, the location you add will appear under Network locations. This means that you have successfully created this network location in your Windows 10.
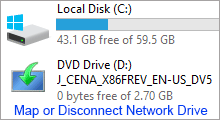 How to Map and Disconnect Network Drive on Windows 10
 How to Allow or Disallow Remote Desktop Connection to a Windows 10 PC
 Change the Location of Onedrive Folder
 How to Change Default Download Location of Microsoft Edge
 How to Change Default Location of Game DVR Capture Folder
 How to Change Location Where New Content Saved in Windows 10