Windows automatically schedules maintenance activities to run on your computer to improve the computer's performance and energy efficiency. It performs various tasks like Windows updates, security scans, system diagnostic and many other things. By default, the system performs maintenance daily, starting at 2 AM. This guide will show you how to change this schedule to any time when the maintenance occurs.
Step 1: Open the Security and Maintenance settings.
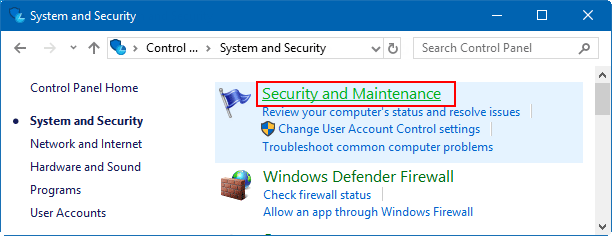
Open Control Panel, click System and Security > Security and Maintenance.
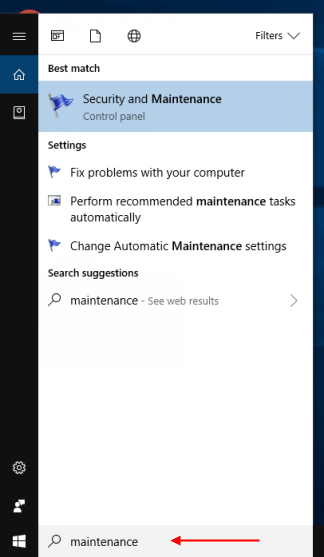
Alternatively, type maintenance into the search box on the taskbar, then click Security and Maintenance to open it.
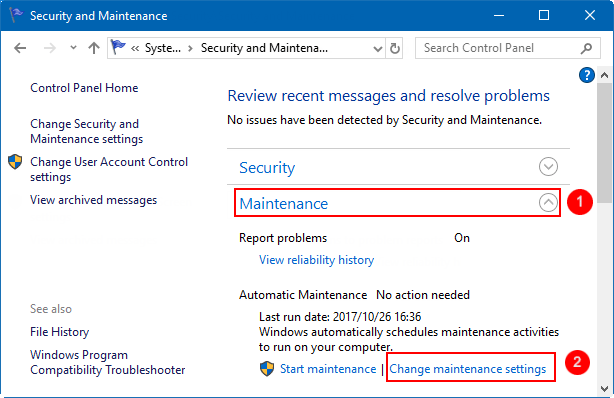
Step 2: In the opening window, expand the Maintenance, then click Change maintenance settings. If you wish to change the schedule of this Automatic Maintenance.
If for some reason you wish to start the Maintenance task right away, you can do so by clicking on the Start Maintenance button. This will allow you to run this task at unscheduled times.
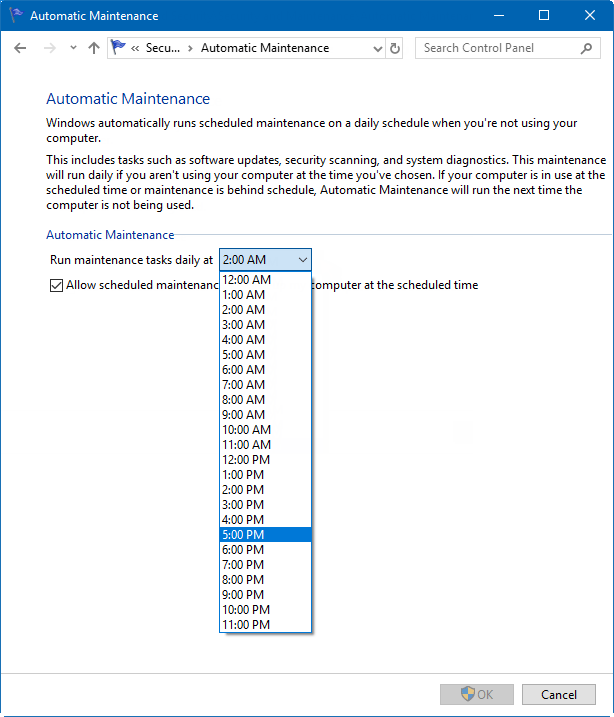
Step 3: Set a new schedule for the Automatic Maintenance.