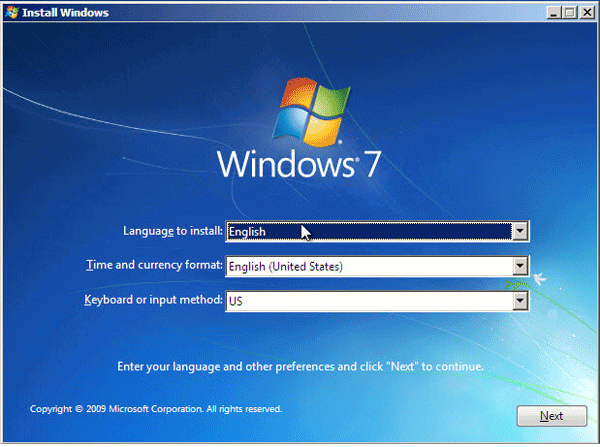
In this article, we will show you how to install Windows 7 from a USB flash drive in VMware. Firstly, you have to ensure that your USB flash disk has unplugged and connected with the VMware. To do like this:
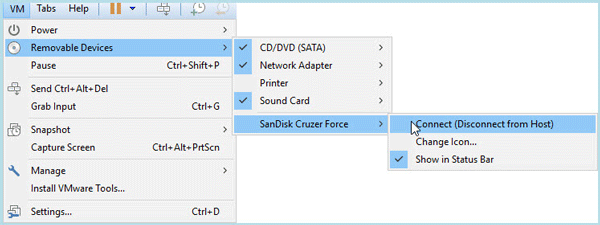
1. Tap on VM and choose Removable Devices in the result list.
2. Then select your hard disk, here we will select SanDisk Cruzer Force > Connect (Disconnect from Host).
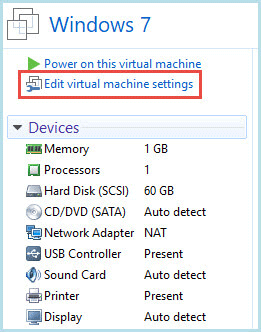
Step 1: Click on Edit virtual machine settings in the existing virtual machine.
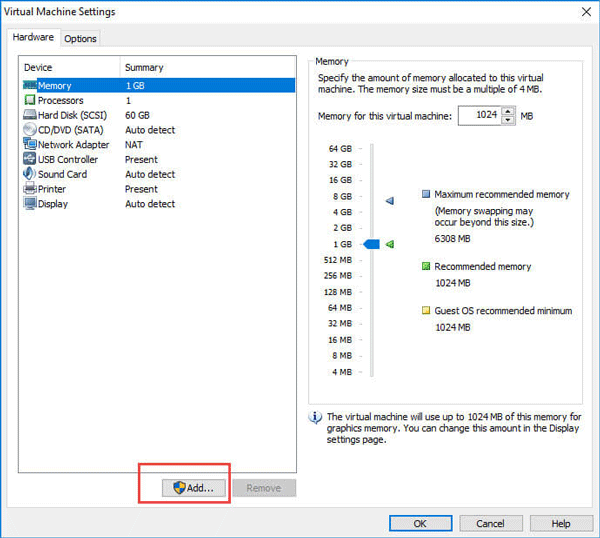
Step 2: Tap on Add.
Step 3: Select Hard Disk as the hardware type, then Next.

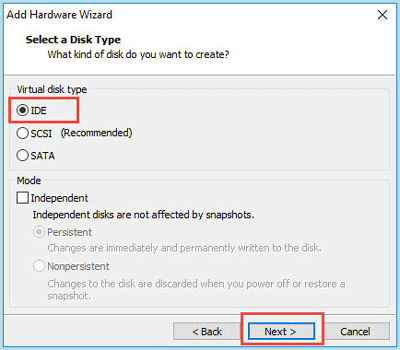
Step 4: Choose IDE as your disk type, and click on Next.
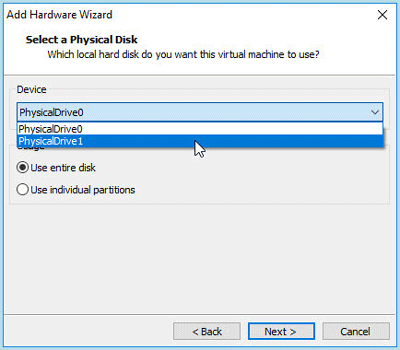
Step 5: Choose the Use a physical disk option, then Next.

Step 6: Select PhysicalDrive 1, your USB flash disk is always the last one on the list. Then just click on Next and Finished.
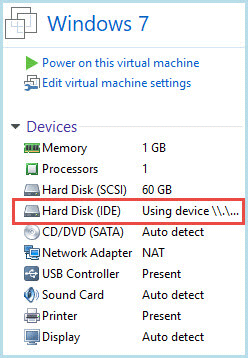
Step 7: Now, you can see the new hard disk on the list.
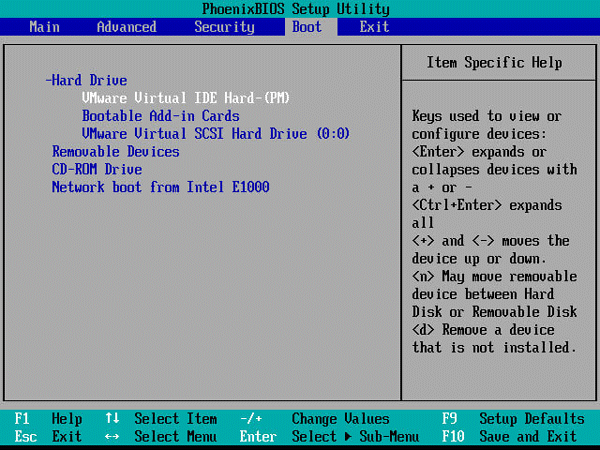
Step 8: Power on the machine, and press F2 to get into BIOS settings. Go to the Boot tab, use "+" key from the keyboard to make Hard Drive into the first drive to boot.
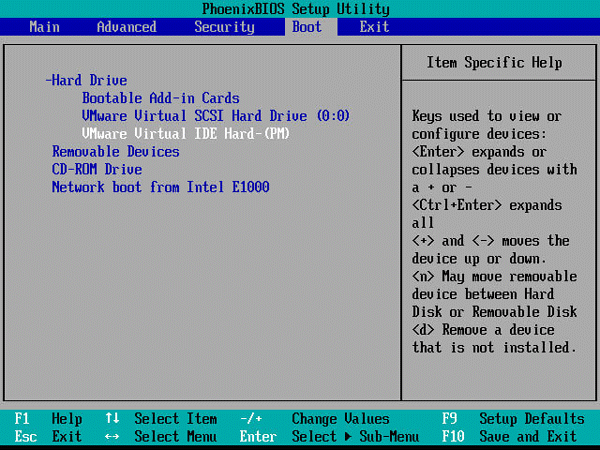
Step 9: Set your disk into the first place.
Step 10: Press F10 then Enter to save and exit. The Windows 7 should be installed well in the VMware.