Libraries are user-defined collections of folders, which can help people organize their files and folders very efficiently. By using libraries, you can easily build a system so that you can always find what you want in seconds. This describes how to create a new library, add or remove folders from a library in Windows 10.
To show libraries in File Explorer, select the View tab, and then select Navigation pane > Show libraries.
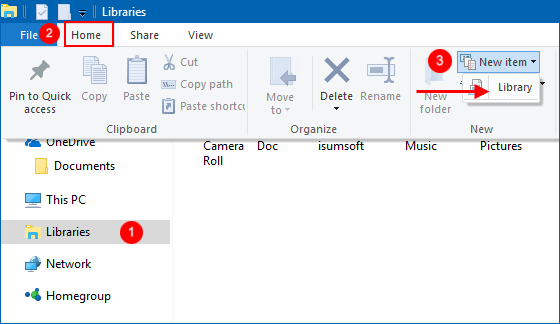
Step 1: In File Explorer, click on Library in the Navigation pane.
Step 2: Click on the Home tab, click New items > Library.
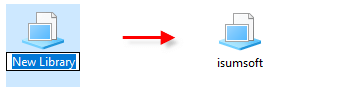
Step 3: Enter a name for the new Library, and then press Enter.
Libraries gather folders that are stored in different locations so you can browse them in one place. You can add folders and drives to a library as you like. Here's how:
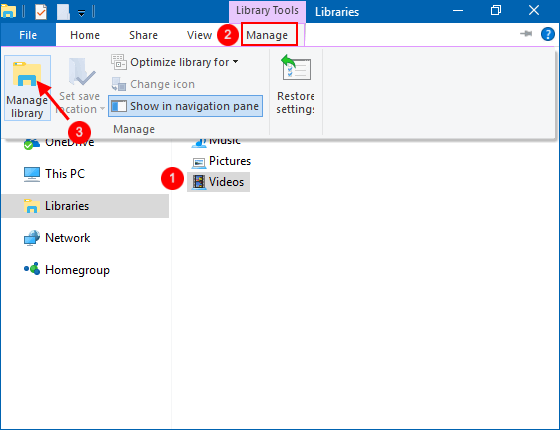
Step 1: In File Explorer, select a Library (ex: Document) that you want to add a folder or drive to.
Step 2: Click on the Library Tools Manage tab, and click on the Manage library button in the ribbon.
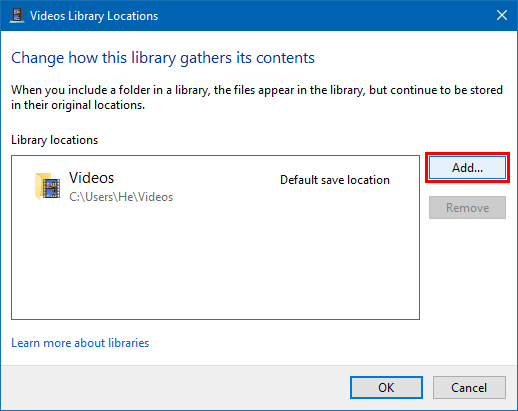
Step 3: To add a folder, click on the Add button. Go on Step 4.
Step 4: Browser and select the folder you want to gather, click on the Include folder button.
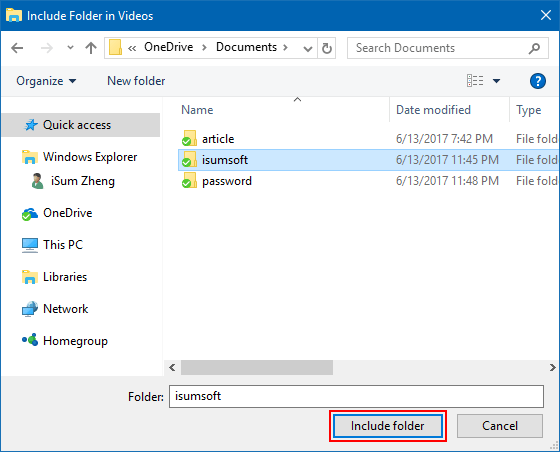
When finished, click OK. Folders appear in the library, but continue to be stored in their original locations.
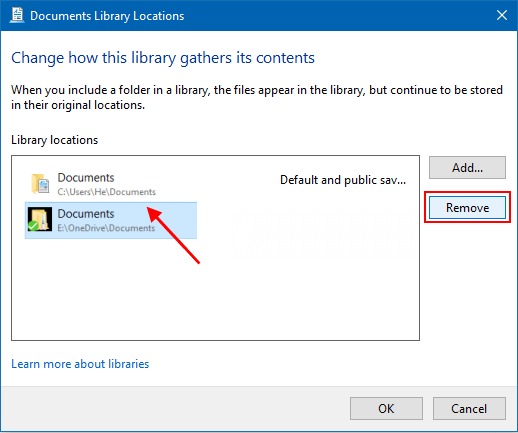
To remove the folder from a library:
In Library Locations dialog box of Step 3, select folders that you want to remove, then click Remove button.