There are many different types of screenshot capture tool. Snipping tool is among the most popular because it is easy to use and can be a great tool for Windows user. Snipping tool is a built-in application in Windows PC. It is used to cut any graphic, picture, dialog control and saves image as an HTML, PNG, GIF, or JPEG file.
This article describes several ways to open and use the Snipping tool in Windows 10.
There are several ways to launch the Snipping tool in Windows 10. Here's how:
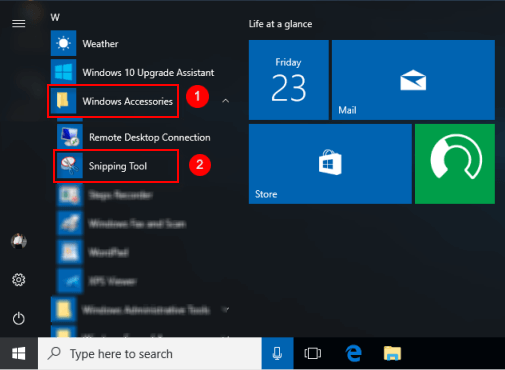
Go to Start Menu and click All apps, you can find it under Windows Accessories folder.
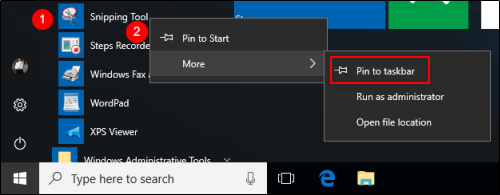
If you need to use the Snipping tool frequently, you can pin it to the Taskbar or Start. So that you can quickly open it from Start Menu or Taskbar.
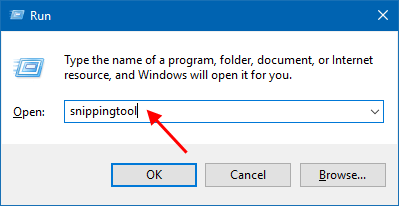
Press Win+R keys to open the Run box. Input snippingtool and hit Enter.
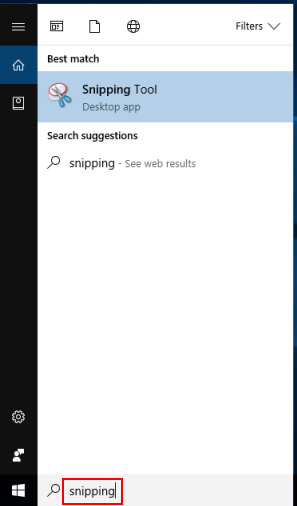
Type snipping into the Search box and press Enter to launch it.
Step 1: Launch the Snipping tool.
Step 2: Select a snip type from the menu or click the New button.
Step 3: Then select the window you want to capture.
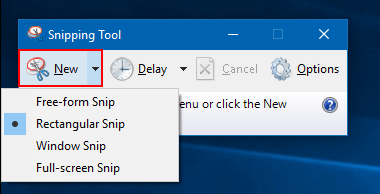
You can capture any of the following types of snips.
In Snipping tool, the Delay option allows for timed capture of screenshots. Here's how:
Step 1: Open the Snipping tool.
Step 2: Click the down arrow next Delay button to choose delay time in seconds. Pick a number between 0 and 5.
Step 3: Then click the New button to start the Snipping process.
Note: This number indicates how many seconds the Snipping Tool will wait between the time you click New and the time the actual screenshot is taken.