
After Windows system installation is complete, we usually assign letter for each hard disk partition. Occasionally you may want to change the drive letter for your local hard disk partition, removable USB flash drive, or CD-ROM. Now this post will show you how to change disk drive letter in Windows 10 with two different methods.
Step 1: Open the Disk Management in Windows 10.
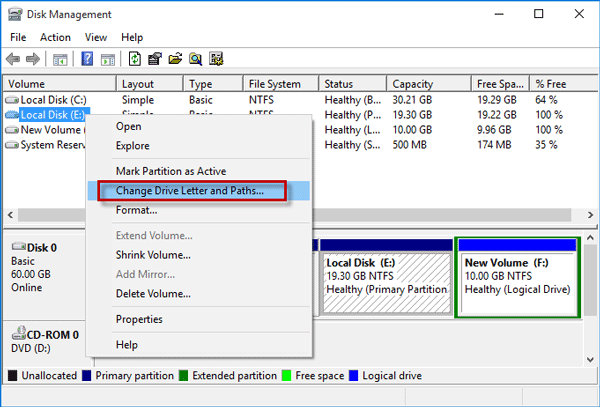
Step 2: Right click on the volume for which you want to change drive letter, and then select Change Drive Letter and Paths from the context menu.
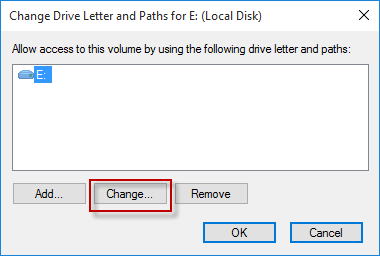
Step 3: Highlight the drive letter and click the Change button.
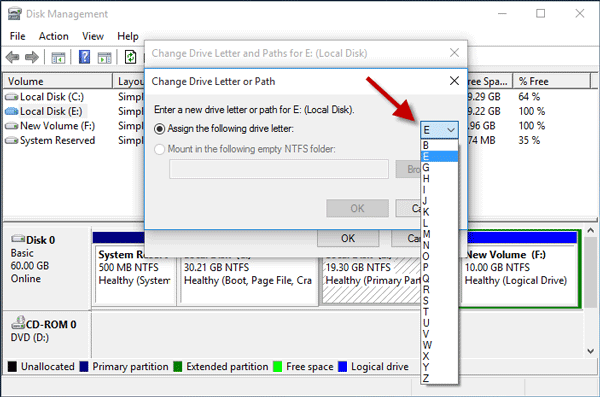
Step 4: Click the drop-down button following "Assign the following drive letter", then select one letter from the drop-down menu, and click OK.
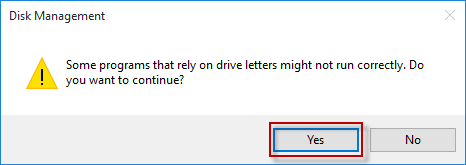
Step 5: You will be prompted with the following warning. Click Yes to continue. If you have some programs that rely on an absolute path to the drive, you will need to change the drive letter on the path to the drive in the program to the letter you selected.
Step 6: Then from the Disk Management or from the File Explorer you will see the drive letter of the disk partition is changed to the new letter you selected.
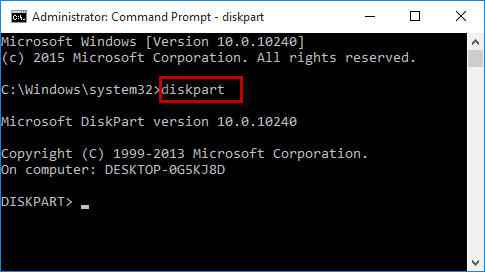
Step 1: Run Command Prompt as administrator on Windows 10.
Step 2: Type diskpart and press Enter.
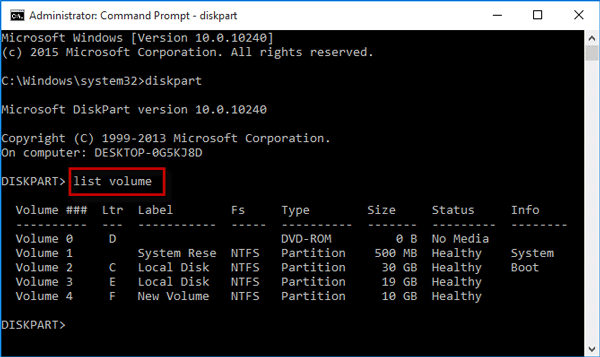
Step 3: Type list volume and press Enter to list all volumes.
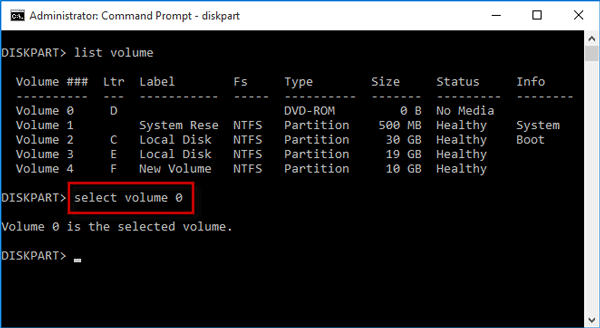
Step 4: Type select volume <volume number>, and press Enter to select the volume.
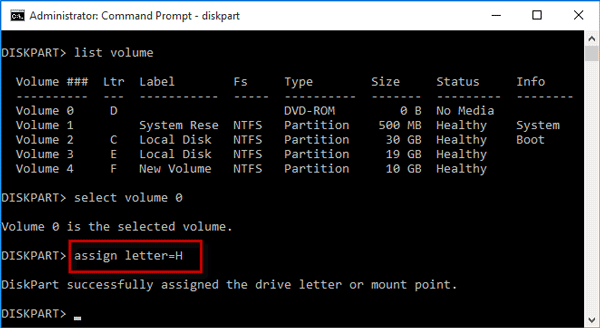
Step 5: Type assign letter =<new letter> and press Enter key to assign a new drive letter to the volume.
 3 Ways to Rename Hard Disk Drive on Windows 10
 How to Initialize and Partition a Hard Disk in Windows 10/8/7
 How to Hide/Unhide Hard Disk Partition in Windows 10
 How to Encrypt Hard Drive in Windows 10 Using BitLocker
 How to Create and Format Hard Disk Partition in Windows 10
 How to Migrate Windows 10 to SSD without Reinstalling