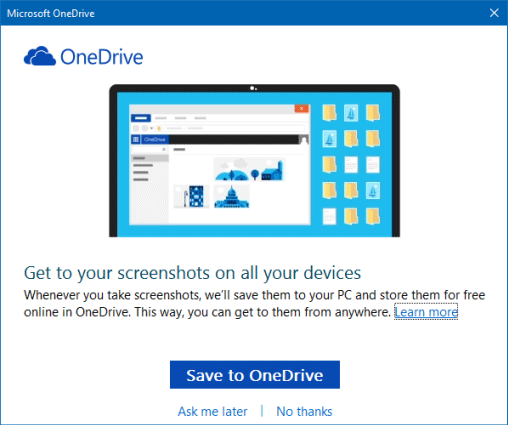
This guide describes how to enable or disable auto save screenshots to OneDrive for all users in Windows 10. If you capture a screenshot by pressing PrtScn, Alt+PrtScn, or Ctrl+PrtScn, you might be asked if you want to automatically save your screenshots to OneDrive( see in the picture). To stop this window prompting every time you print screen, you can turn on Auto Save screenshots to OneDrive feature.
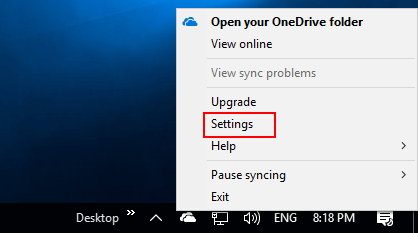
Step 1: Right-click on OneDrive icon on the taskbar notification area, and then click Settings.
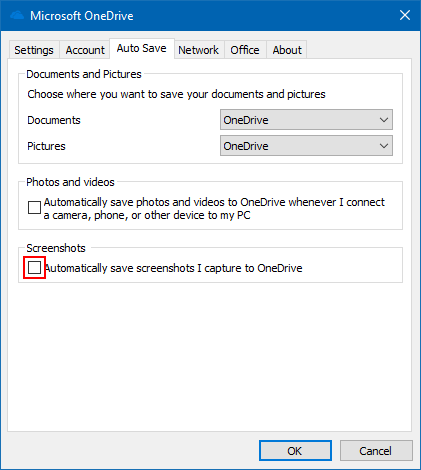
Step 2: Select Auto Save tab, check Automatically save screenshots I capture to OneDrive box.

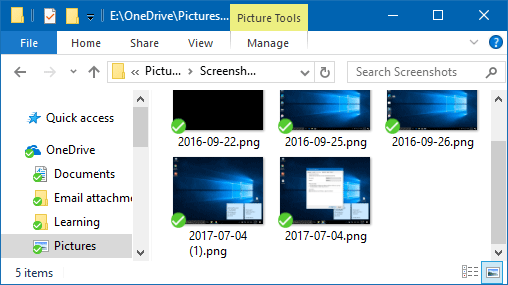
With this setting, screenshots you capture will be saved to the "OneDrive/Pictures/Screenshots" folder on your PC and automatically uploaded to your online storage. You can get to the folder in File Explorer by opening OneDrive in the left folder pane.
Step 1: Right-click the OneDrive icon in the notification area on the taskbar, and then click Settings.
Step 2: Click the Auto save tab, then clear the Automatically save screenshots I capture to OneDrive box.