
Like any other versions of Windows, Windows 10 comes with one built-in guest account once system installation is completed. Microsoft disables the guest account by default to ensure system security. If you need to enable the guest account to make it available to the Windows 10 PC, following see how to do it.
Related: 3 Ways to Enable or Disable Built-in Administrator Account
Step 1: Open Control Panel in Windows 10.
Step 2: Go to User Accounts > Manage another account.
Step 3: Then you can see all the listed accounts including the Guest on your Windows 10.
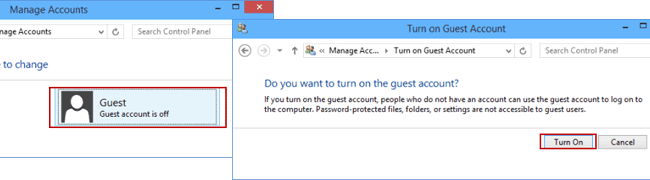
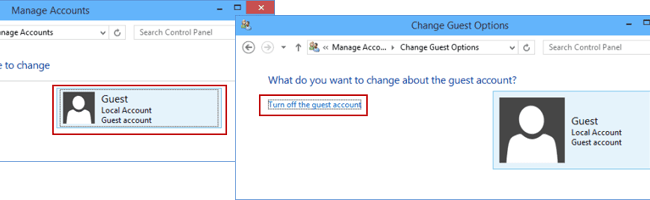
Step 4: Turn on/off the guest account.
1. If the guest account is off, click on the Guest and then click Turn On button to turn it on.
2. If the guest account is on, click on Guest and then click Turn off the guest account link so that you can disable it.
Tips: The Guest account may be not listed on Control Panel in some versions of Windows 10, then you can enable or disable it by the ways as below.
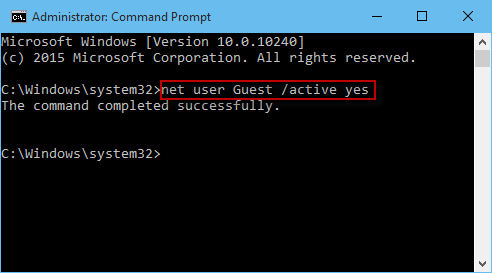
Step 1: Open Command Prompt as administrator on Windows 10.
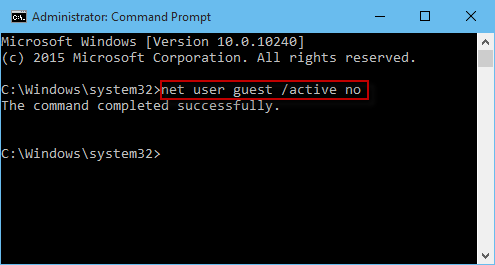
Step 2: Enable or disable the guest account by executing commands.
1. To enable guest account, just type net user guest /active yes and press Enter key.
2. To disable guest account, type net user /active no and press Enter key.
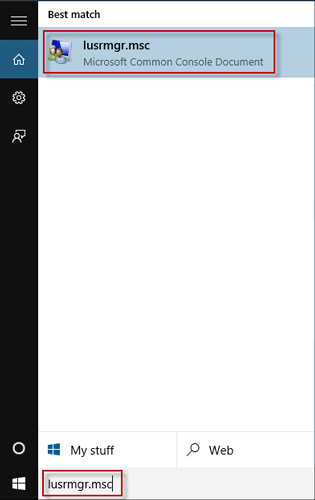
Step 1: Type lusrmgr.msc in the Search box on Windows 10 taskbar. Then click the lusrmgr.msc utility to open Local Users and Groups.
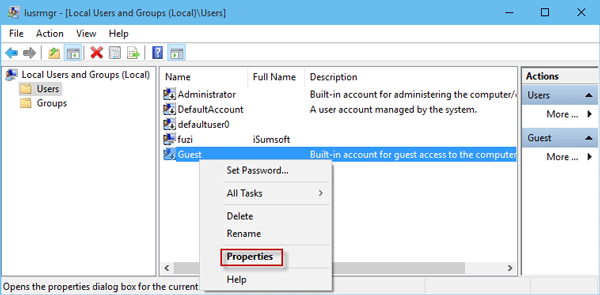
Step 2: Click the Users folder. On the middle pane, it lists all accounts including the Guest account. Right-click on the Guest and select Properties.
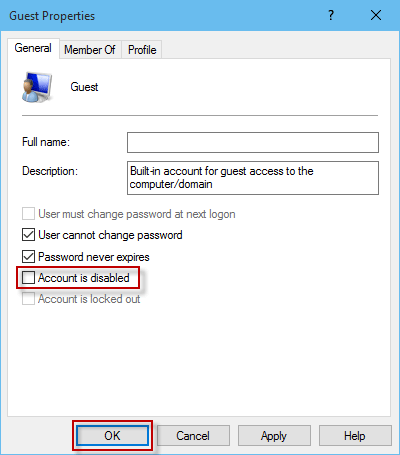
Step 3: Uncheck the box next to Account is disabled and click OK so that the Guest can be enabled.
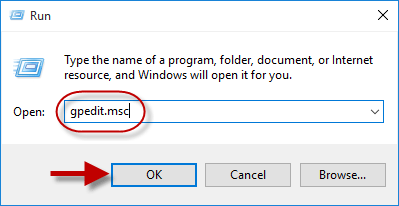
Step 1: Press Win + R keyboard shortcuts to bring up the Run dialog. Then type gpedit.msc and click OK. This will open the Local Group Policy Editor.
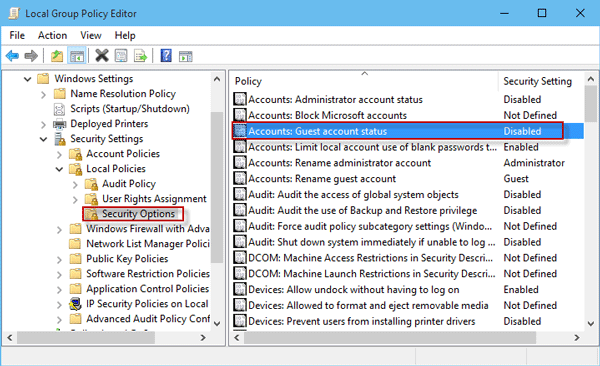
Step 2: Go to Computer Configuration > Windows Settings > Security Settings > Local Policies > Security Options. In the right-side pane, double click on Accounts: Guest account status.
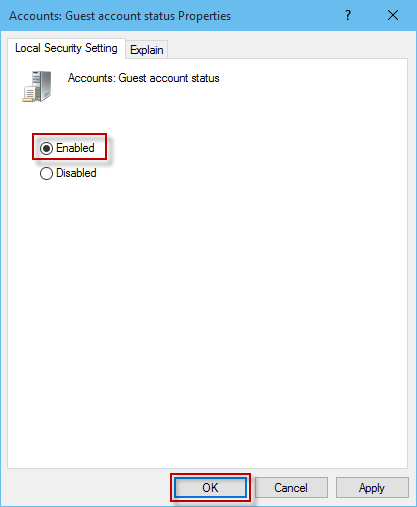
Step 3: You can check Enabled to enable the guest account or check Disabled to disable it. Then click OK to save changes.
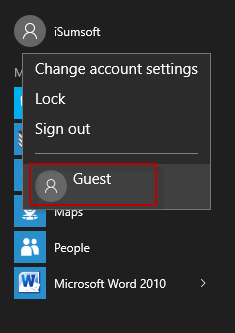
Tips: All the ways above to enable or disable the guest account on Windows 10 can immediately take effect without requiring you to restart the PC. You can see the guest show up in Windows 10 start menu, once it's enabled.
 How to Enable or Disable Built-in Administrator Account in Windows 10
 3 Ways to Enable or Disable User Account in Windows 10
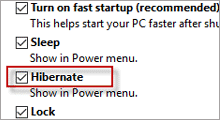 How to Enable/Disable Hibernate in Windows 10
 How to Disable User Account Control in Windows 10
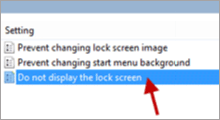 How to Disable Auto-Lock Screen Feature in Windows 8
 Accidentally Deleted Admin Account on Windows 10, How to Recover It