
If you find that your hard drive is not working properly and your computer is running very slowly, or you suspect that there may be a problem with your hard drive, you can run the Windows Error Checker to check for errors. Checking the drive for errors can help resolve some performance issues. This article describes different ways to check and repair the hard drive error, as well as checking for file system errors and repairing corrupted sectors on Windows 10.
In Windows 10, the Security and Maintenance panel is where you go to change your security settings and check the health of your hardware. To check a drive for errors, do the following.
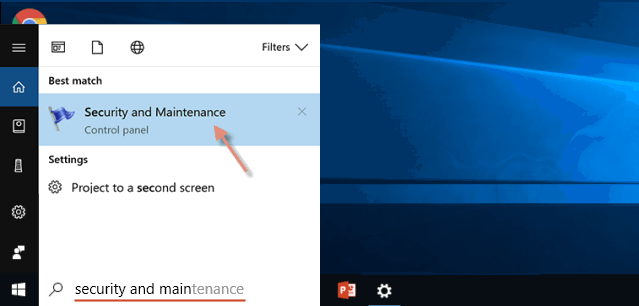
Step 1: In the search box on the taskbar, type security and maintenance and then press Enter to open it.
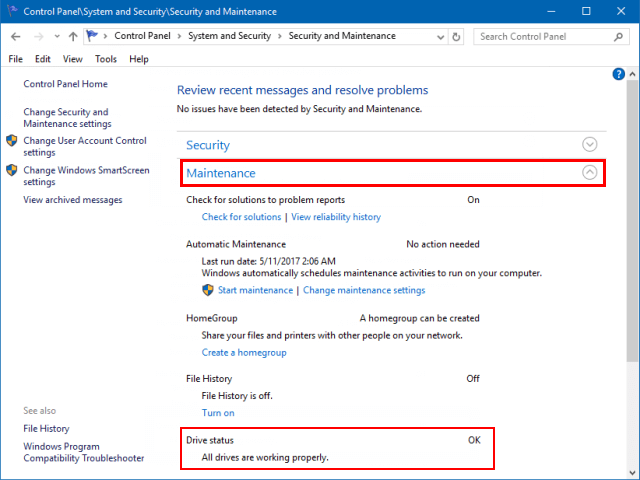
Step 2: Expand Maintenance and then go to Drive Status to check the current health of the drive.
As the following screenshot shows, all drives are working properly. If any of your disks have issues, there will be an option to scan and fix them.
Disk Check can identify and automatically correct file system errors and make sure that you can continue to load and write data from the hard disk. To run the CHKDSK utility directly from the properties dialog of the computer's hard disk partition, do the following.
Step 1: Open the File Explorer.
In This PC, Right-click the drive that you want to check and select Properties.
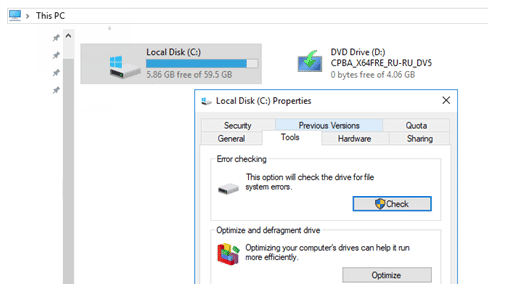
Step 2: Click the Tools tab, and then click the Check button under the Error-checking section.
Another window will appear. It may say that Windows hasn't found any errors, but you can still scan the drive for errors if you want. If that's the case, select Scan drive and the scanning will begin.
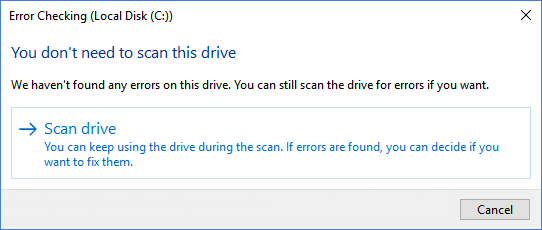
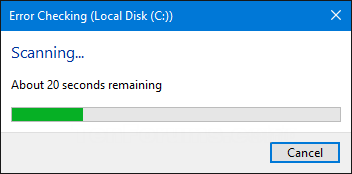
Step 3: Start scanning, after the scan is complete, click to close the window.
The following steps show how to run CHKDSK to check and repair drive with the elevated Command Prompt. If used without parameters, chkdsk displays only the status of the volume and does not fix any errors. If used with the /f, /r, or /x parameters, it fixes errors on the volume.
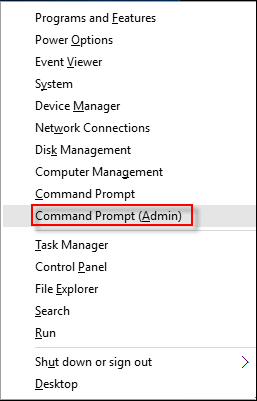
Step 1: Press Win+X and then hit A to open Command Prompt (Admin).
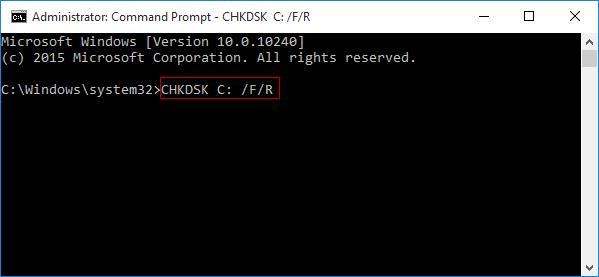
Step 2: In the command prompt window, type CHKDSK C: /F /R and press Enter key.
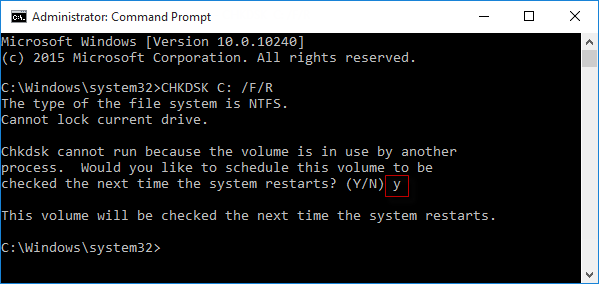
If you try to have CHKDSK scan your computer's boot drive from an elevated Command Prompt, you will be asked if you would like the CHKDSK utility to perform the scan the next time your computer boots up.
Step 3: Simply type y (for yes) and press Enter to schedule the scan for the next time your computer starts up.
If you are unable to start your computer, you can run the tool from a command prompt by booting the computer into recovery mode or by running the command prompt using the original installation disk.
To do so, follow this instruction: Open Command Prompt at Boot using Windows Installation Media.
Sometimes, if your PC doesn't shut down properly or even crashes suddenly, this can damage your computer and system files. To check the integrity of your hard drive or to fix file system errors, you can set the dirty bit for the drive so that the disk automatically checks for volume errors the next time you restart your computer.
Open an elevated Command Prompt (Win+X, A).
Type the following command and press Enter:
fsutil dirty set C:
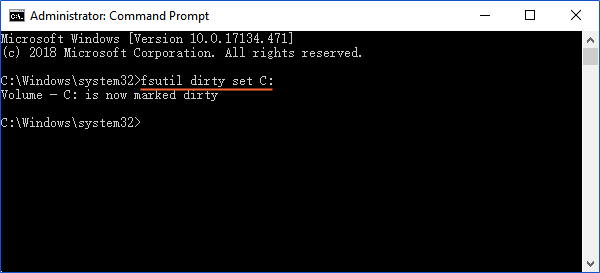
At the next reboot, the system will automatically perform a disk check using the chkdsk utility.
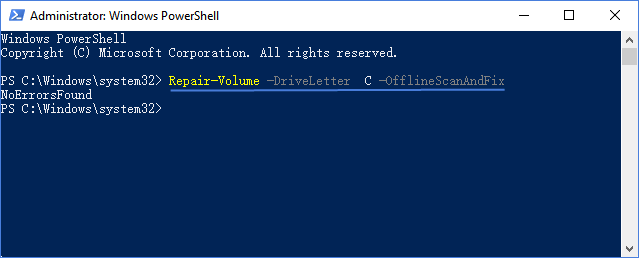
The Repair-Volume cmdlet performs repairs on a volume, you can do the following repair actions.
Step 1: Open an elevated PowerShell.
Step 2: Type the commands below into PowerShell, press Enter.
-> Repair-Volume -DriveLetter C -Scan
This command scans drive C and reports errors only (equivalent to chkdsk /scan).
-> Repair-Volume -DriveLetter C -OfflineScanAndFix
This command takes drive C offline to scan the volume and fix any errors that found (equivalent to chkdsk /f).
 Check and Repair Bad Sectors in USB Flash Drive
 Repair System Files with System File Checker Tool
 Full Solutions to Fix Disk Boot Failure Issue in Windows 10/8/7
 Check for System Memory Problem with Diagnostic Tool
 How to Do a System Restore on Windows 10 When Computer Fails to Boot
 Solved: BitLocker-encrypted System Drive Locked Error