
File History is a file backup tool built in Windows 10, which can automatically and quickly back up personal files from the computer to an external drive. This is much more convenient than manual copy or transfer, especially if you have large number of files to back up.
However, File History is turned off by default, so you need to turn it on before it backs up files for you. In this article, we will show you how to turn on File History on Windows 10 to back up data. There are two options for you to choose from.
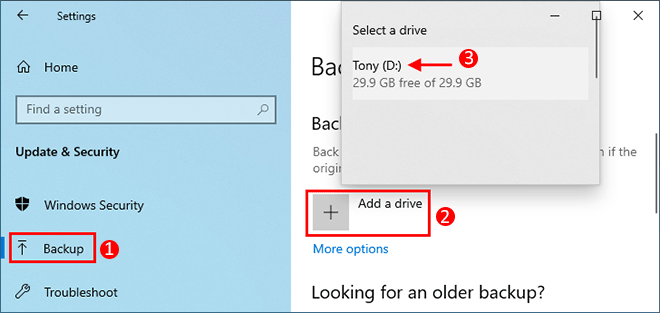
1. First, Connect the external drive to which you want File History to back your data to the computer.
2. Go to Settings > Update & Security > Backup, and then click Add a drive under the Back up using File History section. When the connected external drive appears in the list, select it and File History will turn on automatically.
By default, File History automatically backs up your files every hour. And the files to be backed up include only the files in the Windows default folder, such as the Desktop, Pictures, Documents, Downloads, Videos, etc. If you want File History to back up your other files, or you want to change how often it back up files, just configure it as follows.
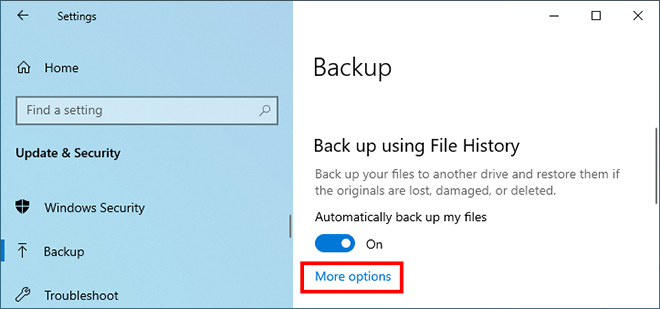
1. Click More options under the Back up using File History section in Settings.
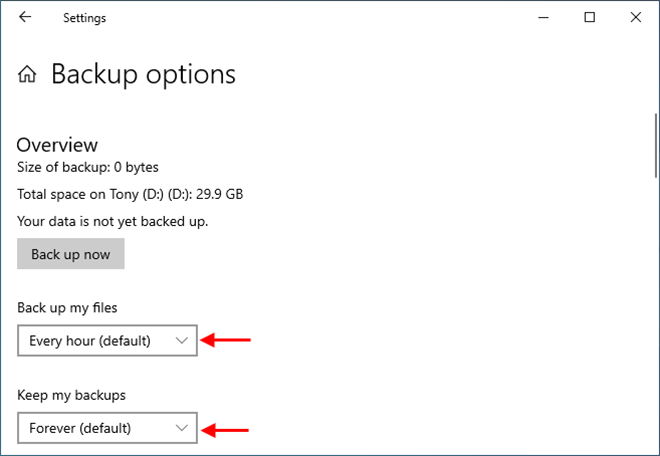
2. The Backup options panel opens. From here, you can select how often File History backs up your files, and how long to save the backup versions,.
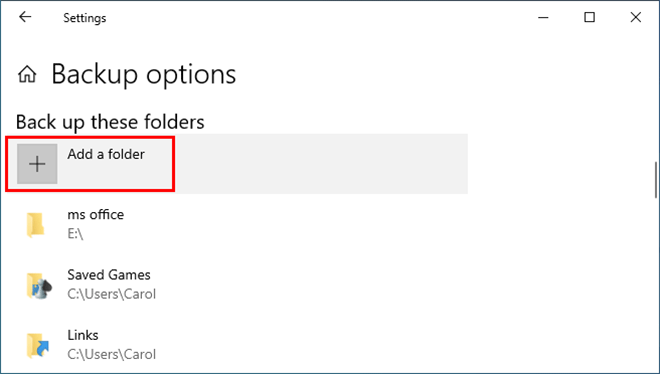
3. In addition, you can click Add a folder under Back up these folders to add more folders you want File History to back up.
4. You can also remove the folders you don't hope to back up by clicking Add a folder under the Exclude these folders section.

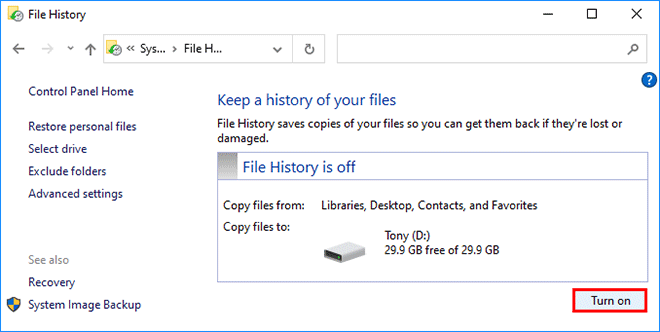
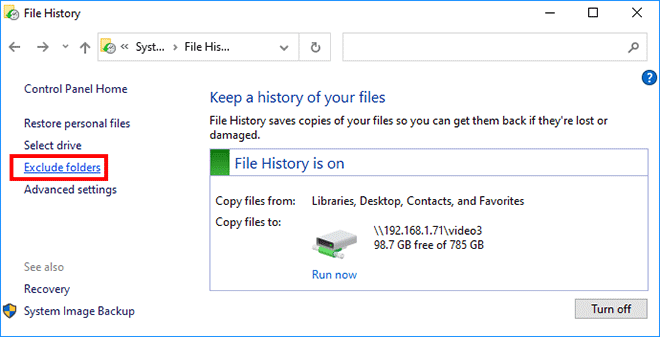
1. Go to Control Panel > System and Security > File History.
2. Connect the external drive to which you want File History to back up your files to your computer. File History will automatically detect the connected external drive, and then you can click Turn on to turn on File History.
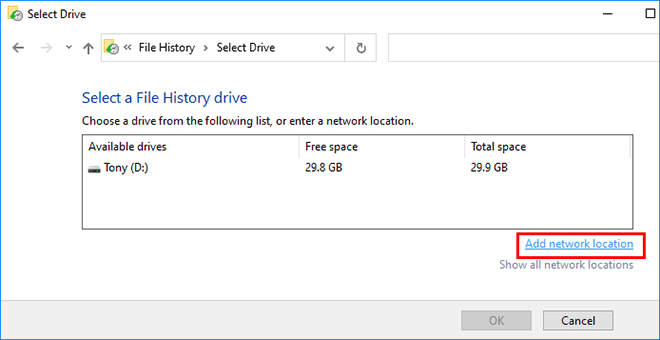
If you want to use a network location as the File History drive, click Select drive and on the next page, click Add network location to add your network drive.
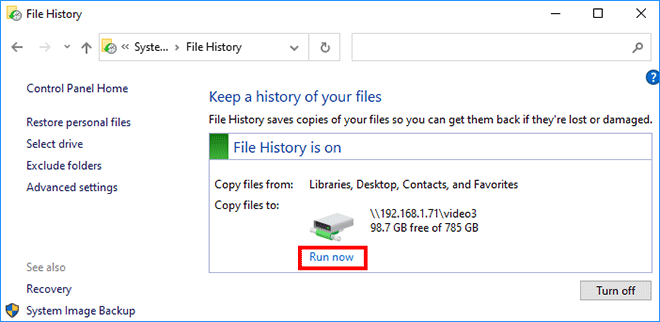
3. If you want File History to back up your files right now, just click Run now. If you want to configure File History settings, continue with the Step 2 below.
1. To configure how often File History automatically backs up files, click Advanced settings on the left and select your wanted options on the next page.
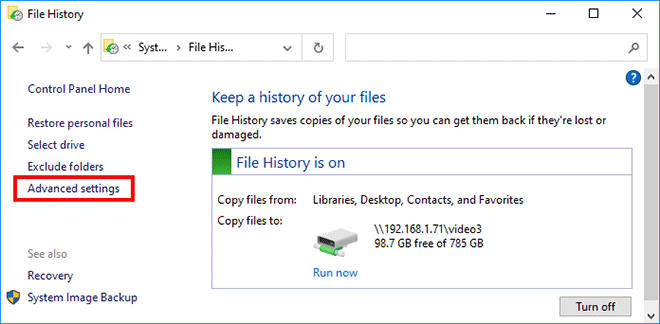
2. If you don't want to back up specific folders or libraries, click Exclude folders on the left so that you can exclude unwanted folders from File History.
That's it. Now if you want to learn how to restore files using File History, click the link to see how.
 File History Does Not Recognize This Drive? 5 Effective Ways Here!
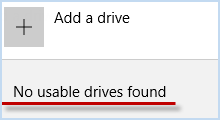 How to Fix Windows 10 File History Backup No Usable Drives Found
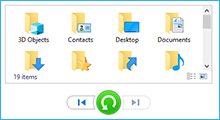 How to Restore Files using File History in Windows 10
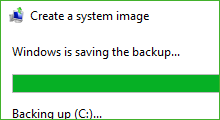 How to Create and Restore System Image Backup on Windows 10
 How to Backup Installed Programs before Reinstalling Windows 10/11
 How to Backup Computer to External Hard Drive in Windows 10/8/7
 How to Backup Data without Booting into Windows 10
 How to Migrate Windows 10 to SSD without Reinstalling