
By default, when your computer remains inactive for some minutes, it will automatically go to Sleep mode and turn off the display. Auto Sleep sometimes brings us great convenience, like when we have to walk away from the computer and don’t want to shut down the computer.
However, it could be quite annoying if your computer goes to Sleep at all the wrong times or if you have trouble waking your computer from Sleep mode. Fortunately, you can control when or whether your computer goes to Sleep. In this page, we will show you how to set your computer to Never Sleep with Windows 10. There are two methods for your choices.
Method 1: Set Windows 10 computer to Never Sleep via Settings
Step 1: Open the Settings app by using Win + I.
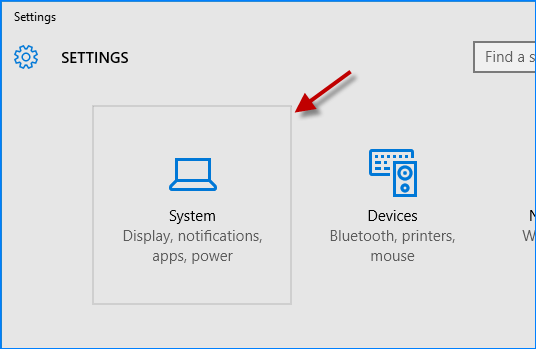
Step 2: Click the first item labeled “System (Display, notifications, apps, power)”.
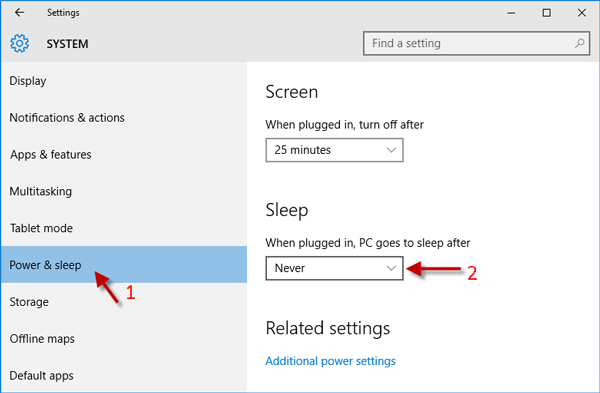
Step 3: On the System section of Settings, click Power & Sleep on the left side. Locate the “Sleep” section on the right side, and choose “Never” from the drop-down list. That’s it.
Method 2: Set Windows 10 computer to Never Sleep via Control Panel
Step 1: Open Control Panel by pressing Win + X and then select Control Panel.
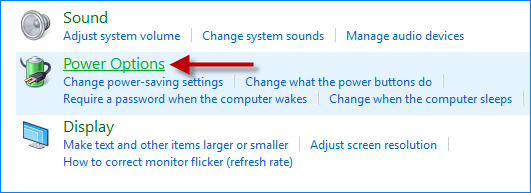
Step 2: Click “Hardware and Sound”, and then click “Power Options”.
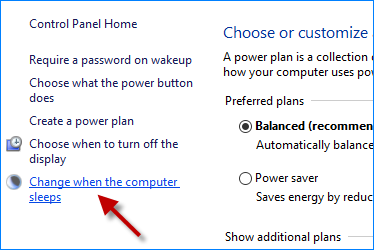
Step 3: Click “Change when the computer sleeps” link on the left side.
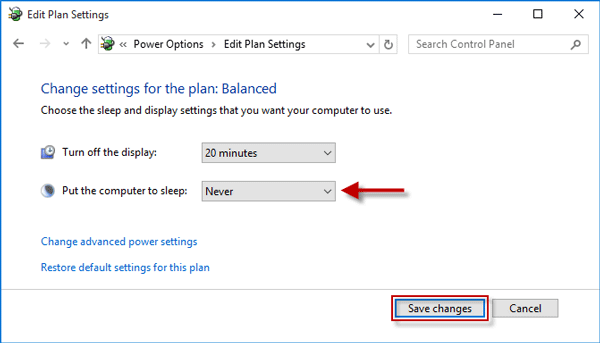
Step 4: Click the drop-down button next to “Put the computer to Sleep”, choose “Never” from the drop-down list, and click the “Save changes” button. That’s it.
Using either method above, you can set your computer to never automatically Sleep. Your computer goes to Sleep only when you manually force it to Sleep by clicking the Sleep button in the Power options menu.

