Mostly, we set alarms using an alarm clock, or a mobile phone. Sometimes, you may want to set an alarm with a computer. Now, this post will show you how to set an alarm on Windows 10 computer.
How to set an alarm on Windows 10
Step 1: Open the Alarms & Clock app by clicking the Start button and then double-clicking the Alarms & Clock in the Start menu.
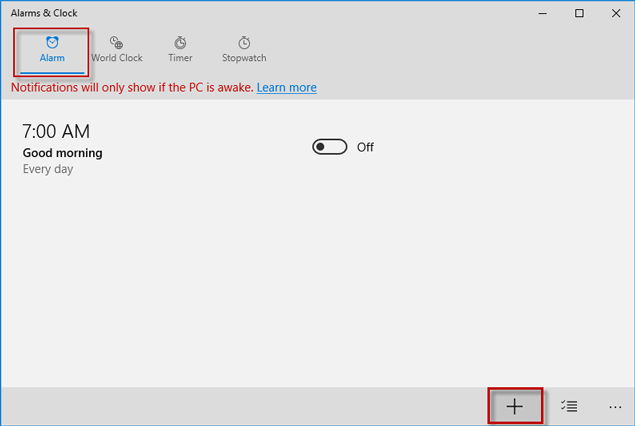
Step 2: Highlight the Alarm tab. You can then click/tap an existing alarm to edit it or add a new alarm by the Plus button in the lower right corner of the window.
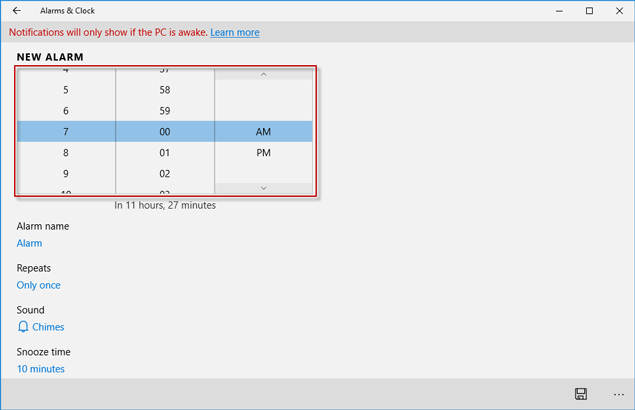
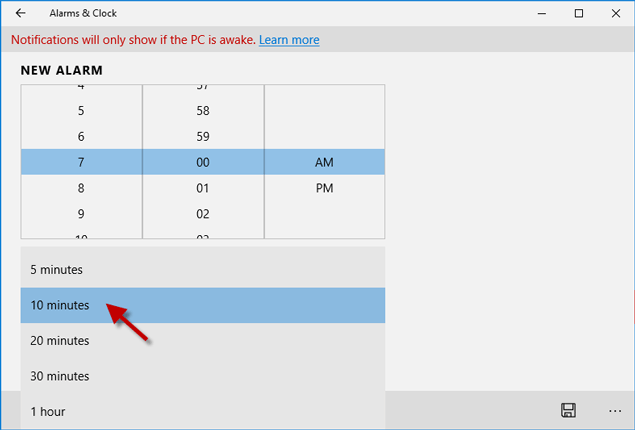
Step 3: Set the alarm time, which includes the hour, minute, and AM/PM.
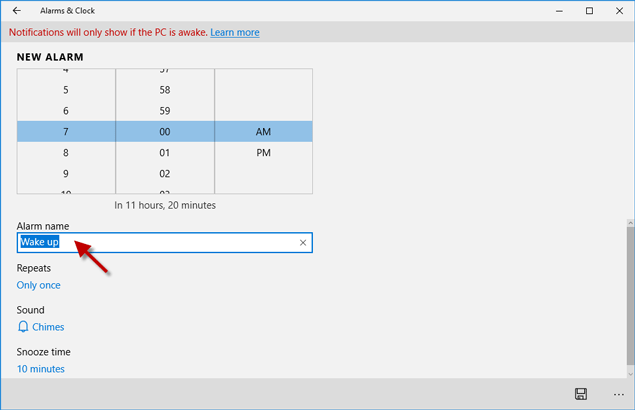
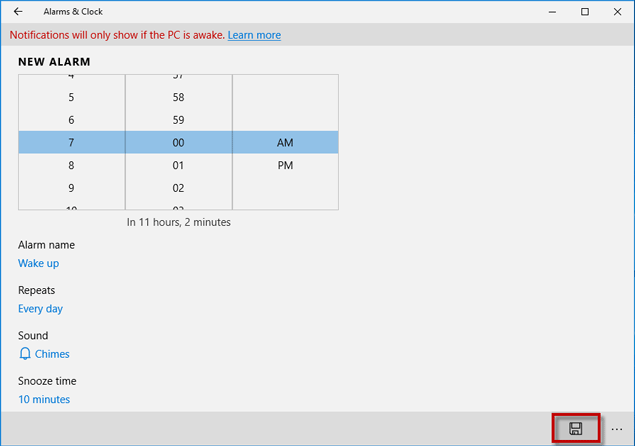
Step 4: A newly added alarm is named ‘Alarm’ by default. Give the alarm a new name if you want.
Step 5: A new added alarm rings only once by default. You can set the alarm to ring every day or on a certain day.

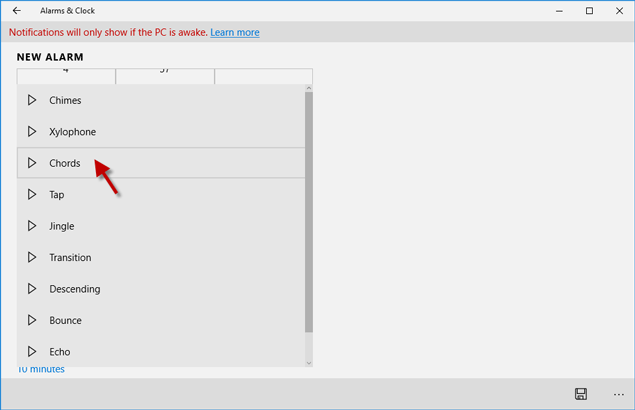
Step 6: Set a sound for the alarm.
Step 7: Set a snooze time if you need.
Step 8: After everything is set up as your desire, click the Save button in the lower right corner of the window to save the alarm.
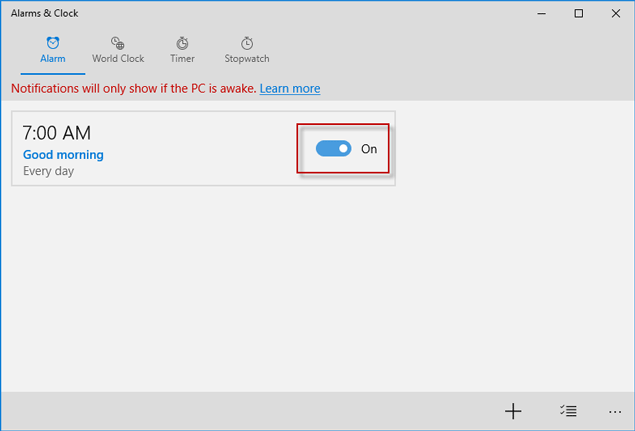
Step 9: At last, switch the toggle to On position to activate the alarm. If you don’t want the alarm anymore, switch the button to Off position to turn off the alarm, or select the alarm and then click the Delete button on the next page to delete the alarm.