There is a “Protect Workbook” feature under the Review tab in Excel, which allows you to protect Excel workbook for structure and windows. This post will introduce this feature and how to use it.
Differences between Protect workbook for structure and windows
Prevent workbook for structure: This can prevent users from adding, deleting, moving, renaming, hiding or displaying hidden sheets in the Excel workbook.
Prevent workbook for windows: This can prevent users from changing the size or position of the window you set up to display the workbook, and from splitting worksheet windows.
How to protect workbook structure and windows in Excel
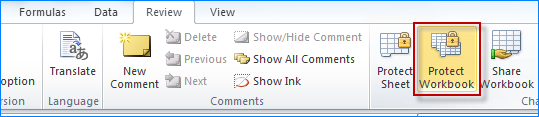
Step 1: Open the Excel workbook, click the Review tab, and click Protect Workbook.
If you use Excel 2016, you also can click the File tab to bring up the backstage view, then click Info, and click Protect Workbook > Protect Workbook Structure.
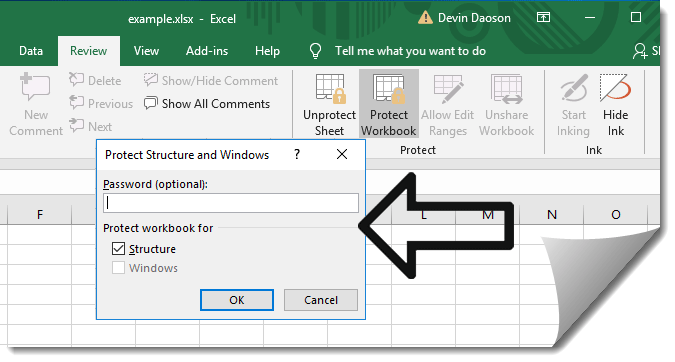
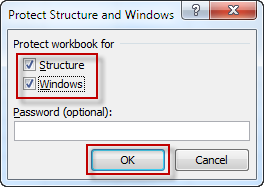
Step 2: After the “Protect Structure and Windows” dialog pops up, check the “Structure” and “Windows” option, and then click OK.
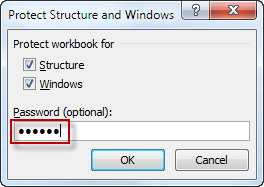
Notes: The password is optional. If you don’t set up a password, the users can unprotect the Workbook by simply clicking the “Protect Workbook” button. If you want to require a password to unprotect the workbook for structure and windows, type a password in the field under “Password (optional)” and click OK. Reenter the password to confirm it and click OK.
Step 3: Press Ctrl + S to save the Excel workbook to apply your changes.

